Followers

Showing posts with label Ornate Border Small. Show all posts

Thursday, 23 March 2017

La-La Land Crafts - Mini Box Card Tutorial


Hi I am here with a Mini Box Card tutorial for
These great cards will fit all your Mini Marci
size stamps.


So first I cut a template 11 and a quarter by 4 and a quarter inches.
Score a long the centre at 1 3/4 Inches. Then on the long side score
at 3 1/2, 5 1/2, 9 and 11. Cut down the score lines on the top only
to the 1 3/4 inch line. Cut out the 1/4 inch section on the top.


Cut 3 insets 4 x 1 inches and score each end  1/8 of an inch.

Here is my main card cut out.

Cut 3 insets 4 x 1 inches and score each end  2/8 of an inch.

These are my layers for the bottom of the box.
Cut 1 of 3 5/16 x 2 5/16
Cut 2 of  2 5/16 x 1 13/16

Cut 1 of 3 3/16 x 2 3/16
Cut 2 of 2 3/16 x 1 11/16

These are the layers for the top of the box.
Cut 2 of 3 5/16 x 1 9/16
1 13/16 x 1 9/16

Cut 2 1 11/16 x 1 7/16
Cut 2 3 3/16 x 1 7/16

Here they are layered.

Now to pop the inserts in you tape them to the small end
 equal distance apart this will be the inside of your card.

Then join your box then arange your inserts as in the picture
 make sure they are flush with the top of the box.

Then decorate. I have used 
Stamp Set
Dies

Also on the back of the Card I stuck a piece of white 4 1/4 x 3 1/2 cardstock.
So I could write on or stamp a sentiment. Dont forget it does fold down flat
and fits in a regular size envelope.

This is another one I did with the same box design.

 Also don't forget to join in all the La-La Land Crafts fun by adding
your creations to our Facebook page . Also for more Inspiration we are on Twitter , Pinterest and Instagram too.

Happy Crafting Everyone

Jennifer


Monday, 6 March 2017

La-La Land Crafts - Anything Goes


Hope you all had a Great Weekend . I worked but am counting down
2 days until  I have 5 days of Crafty Fun with some Awesome  Crafting Friends.
So here I am for
with this weeks theme
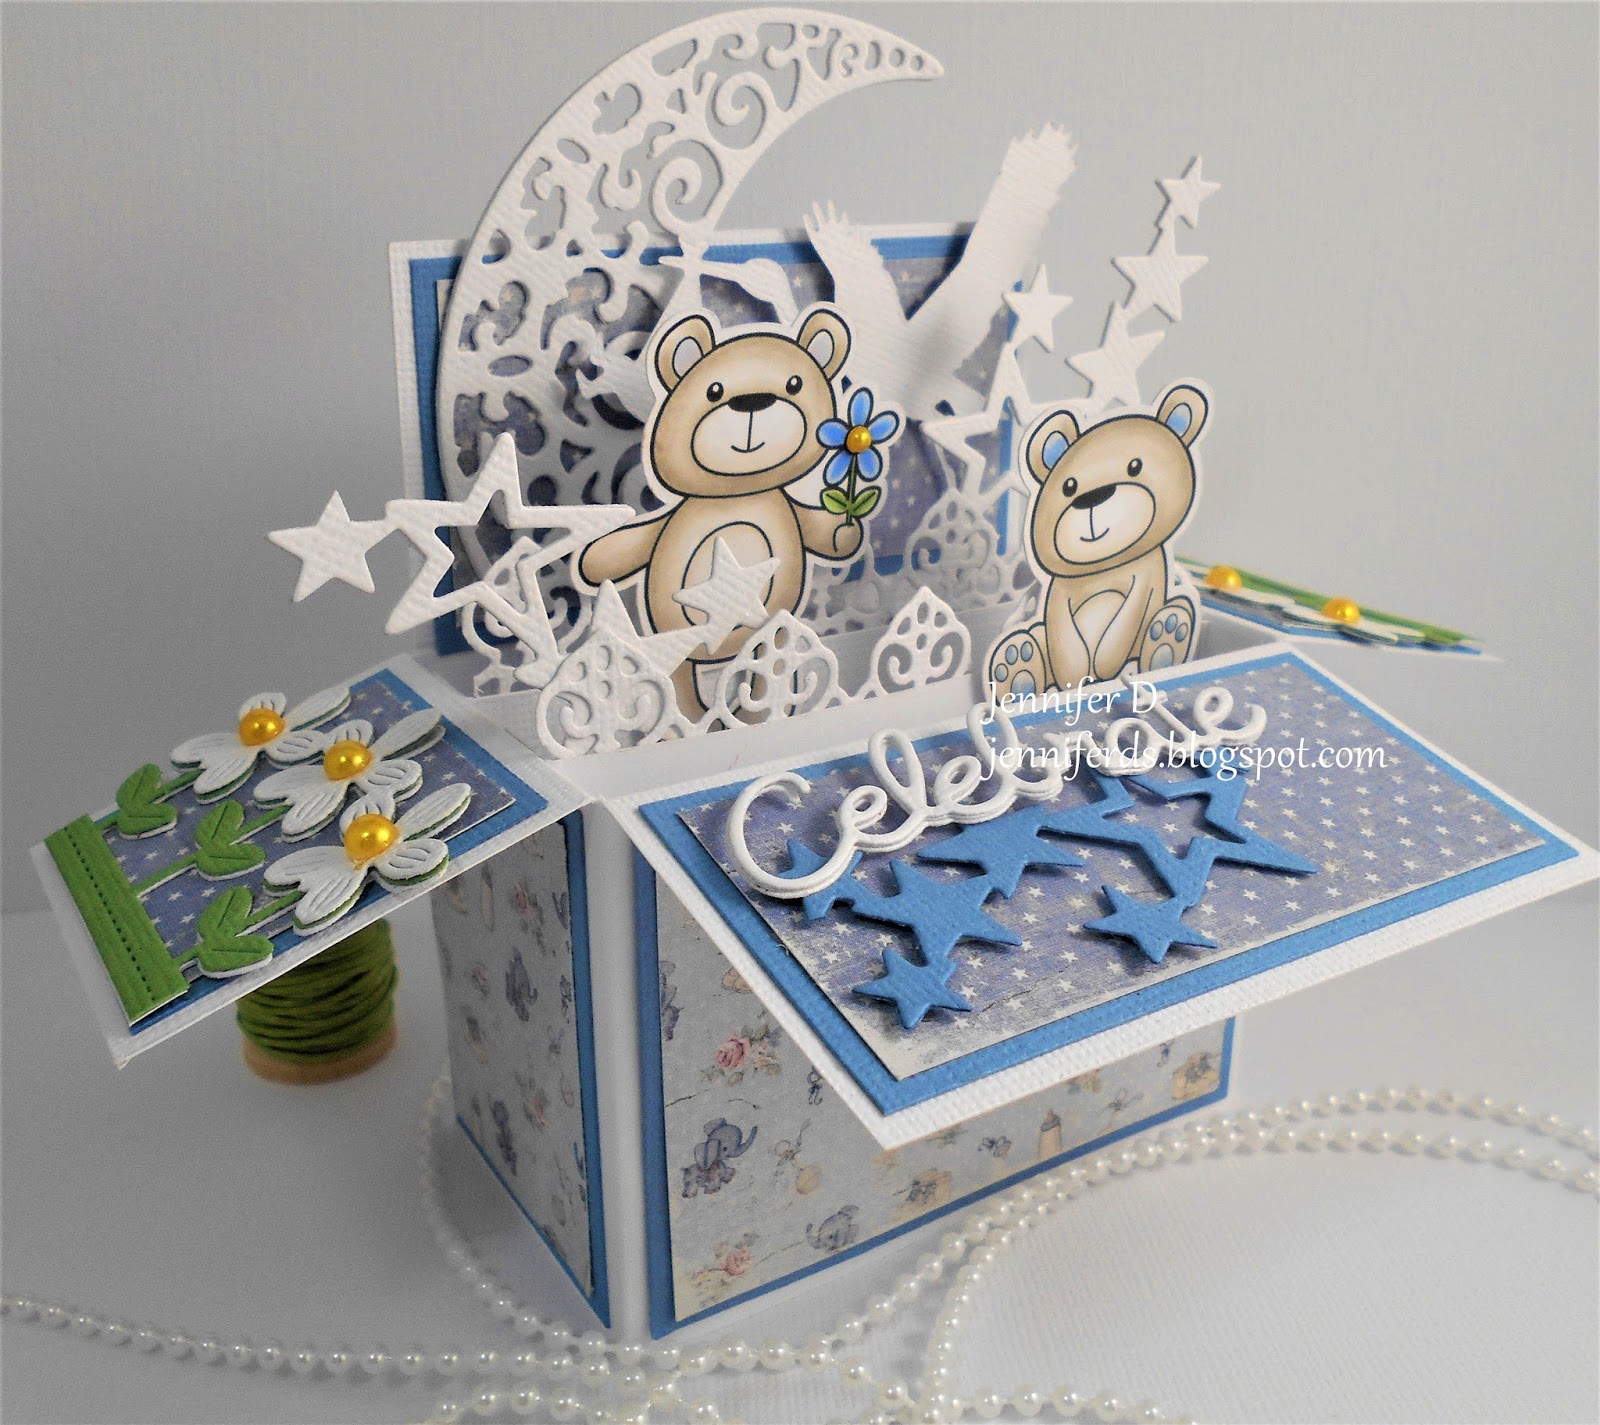
So I have decided to turn these Adorable Bears into a Sweet New
Born Baby Box Card. This is another Box Card with different dimensions
than my last one.


Stamp 

Dies 

Copics
Bears - W0, W1, W2, W3
Ears, Paw Pads, Flowers - B21, B23
Leaves - YG11, G63, G67


Sorry the colour is still not quite right yet my light box still needs to be fixed.


 Also don't forget to join in all the La-La Land Crafts fun by adding
your creations to our Facebook page . Also for more Inspiration we are on Twitter , Pinterest and Instagram too.

Happy Crafting Everyone

Jennifer

Thursday, 15 December 2016

La-La Land Crafts - Easle Card Countdown Calendar

Hi Everyone I am here with a Tutorial for
an Easle Card Countdown Calender for
 Here it is open.

 It closed and folded up.

 This is the front base cut it 51/2" x 111/2"
then score at 23/4", 3", 81/2" and 8/3/4
 This is the Easle cut 12" x 5" then score at 
23/4, 51/2 and 61/2
 So then decorate the front base. I have used 

 Stamp 
Dies

 These tags you can have them countdown for Christmas
and store them in the box or you could just have one
and pop some Chocolates in the box.
 Now for the box this is the bottom I have cut it at
61/2" x 41/4 then scored 1" all the way around.
See in the picture where I have placed the cuts 
then folded and taped to create a box.
 This is the lid of the box. I have cut it at 61/8 x41/4 then
scored 3/4" all the way around. Place the cuts and tape into
a box the same as the base.

You can then decorate the easle base and tape the box
into position as in the photo.

 This the back view and you can see where the easle base attaches 
to the front base.
 When folded the flaps of the front base end up on top
to form the decorative box.

 I then created a belly band 1" wide it depends on how 
highly embellished your card to how long it is.

 Open.
Shut
I hope you all enjoyed this tutorial and look forward to seeing 
yours.

Don't forget to join in all the La-La Land Crafts fun by
 adding your creations to our Facebook page . Also for more 
Inspiration we are on Twitter , Pinterest and Instagram too.

Happy Crafting Everyone


Jennifer

Monday, 26 September 2016

La-La Land Crafts - All Shapes and Sizes


 Hi it's Monday and I had a busy Weekend working all day Saturday.
Then on Sunday a 3 and a half hour drive to Melbourne and the same back
to shop for a graduation dress for my youngest Daughter. I did find
a Papershop on the way ;) couldn't help myself. Yes we did get the
Dress and Shoes.
Ok I am here with this weeks DT Card for 
and the theme is

 Stamp 


Dies

Copics
Face - E0000, E000, E00, E01, E11, R20

Well this week I decided to create an
 Easle Card Countdown Calendar using some inspiration
from pinterest.


 My pale pinks are looking very dark in this photo.
So in the box I have all the Tags so you can count down from 24.


 This is how it looks all folded up with a belly band making its own box.


This is the side view so you can see how it tilts and folds until flat and then
 fold the wings in. You can tilt it forward or backwards it works both ways.

 Also don't forget to join in all the La-La Land Crafts fun by adding
your creations to our Facebook page . Also for more Inspiration we are on Twitter , Pinterest and Instagram too.

Happy Crafting Everyone

Jennifer


Monday, 19 September 2016


  Well here I am with Monday Nights 
DT Card and the Theme this week is
So I have Created most of the diecuts in white glitter paper and
layered them up with white cardstock. It was really hard to get
a good picture with all this white and sparkle. I am not sure what
the name for this style of card design is so if you
know leave a comment Thankyou. Dont forget to drop on 
over to the La-La Land Crafts and see what Monday's Girls have Created.
Also don't forget to have a look around the newly done up Blog.
.
Stamp

Dies -
 Ornate Scroll Flourish
 Ornate Border Small
 Pierced Scallop Circles
 Double Stitched Circles
 Heart Header Border
Loopy Corner

Copics
Face - E0000, E000, E00, E01, E11, R20
Hair - E50, E51, E53, E55, Y21
Dress, Wings, Candle and Flowers - Y21, YR23, 


A close up.


 Hope you liked this one!

 Also don't forget to join in all the La-La Land Crafts fun by adding
your creations to our Facebook page . Also for more Inspiration we are on Twitter , Pinterest and Instagram too.


 Also don't forget to join in all the La-La Land Crafts fun by adding

your creations to our Facebook page . Also for more Inspiration we are on Twitter , Pinterest and Instagram too.

Thursday, 25 August 2016

Tutorial Thursday - Exploding Card

Hi I'm  here  with Tutorial Thursday for
and today we are creating an Exploding Card. 
They look Amazing with there 3D features
 yet they fold down flat to send in the post.

This is the outside of the card and you will need to cut a piece
of cardstock 5 inches x 12 inches and score on the longside at
5, 10 and 10 3/16.

This is the centre of the Card.  A piece of Cardstock
10 inches x 4 1/4 inchesScore on the long side at
 4, 5 and 6 inches. I inch in from both ends on the 
5 inch score place a cut from the 4 inch score line to the
 6 inch score line. Then on each end of  the 5 inch score
 line measure 1/2  an Inch either side and up the score
 1/2 an inch to make a triangle 

Then cut out the 2 triangles and it will look like this.

Now to do the sides  you need to cut 2 pieces of double
sided paper at 6 x 10 inches

Score at 5 inches along the long side and fold in half with the
 open end facing up. Which ever colour is folded in is the
 colour that will be on the inside of your card.

Then fold the bottom left corner up to the top open edge.

I found it easier to use graph paper with inches on it to make
 scoring straight. So you flip your side piece over as in the picture.

You are going to score starting at the bottom 2, 3, 4, 5 inches across.

Now to start folding open it up and starting from one corner as
 in the picture you are going to make mountains and valleys
 make sure you start with the mountain.

and continue until half way. Then start on the other corner
 and do the same again until the centre.

It should look like this.

The outside of it.

Now to fold it altogether the bottom naturally just folds in.

and will look like this.

Then place tape around as show on both sides on each of your sides.


and tape them to the outside of the card


as shown here. Oooops  I forgot to take the earlier photos so
 there is a difference in the paper colours but still blue.

and the second side as well.

Then tape your centre in making sure not to put tape on the pop up bit.

Then decorate as desired.
I have used

I also placed a card on the inside base  cut to 4 x 3 inches and
folded in half and taped down.

Folded up on the outside you can pop a belly band around it to
 hold it shut , ribbon or half velcro dots which I chose. now
 ready to be posted.
Hope you enjoyed this tutorial and looking forward to seeing
 you all decorate yours up.

Also don't forget to join in all the La-La Land Crafts fun by adding
your creations to our Facebookpage and Twitter and for
more Inspiration we are now on Pinterest.

Happy Crafting
Jennifer

Related Posts Plugin for WordPress, Blogger...