Followers

Wednesday 29 March 2017

Edwin and Teo the Dragon


Hi I am here for The Rubber Buggy with a card I created using an older
but really adorable stamp 
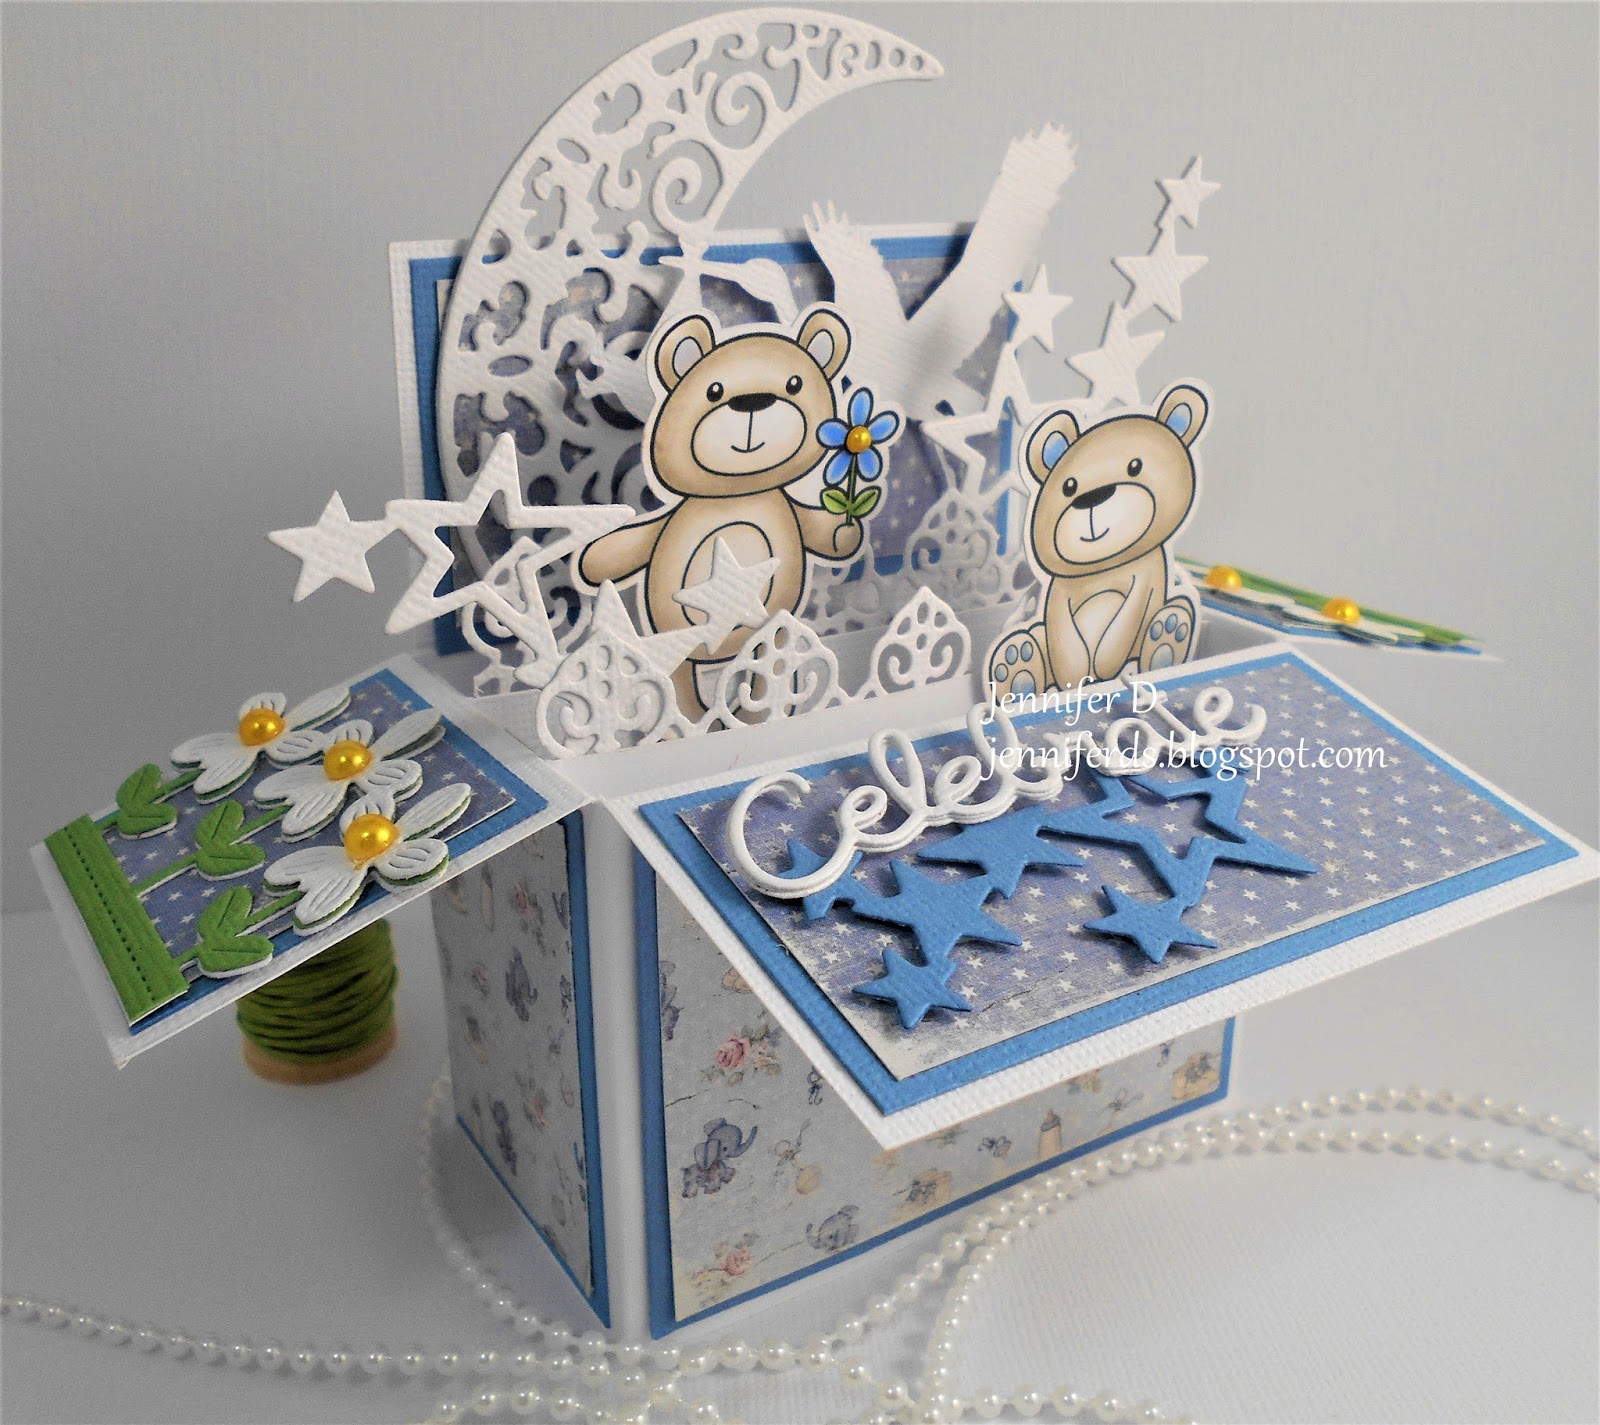
I have stamped the Image in Memento and coloured them up in 
Copics. The background I did using the new AWESOME
Tim Holtz Oxide Inks the colours I used are
Fossilized Amber, Vintage Photo, Peeled Paint and Faded Jeans.
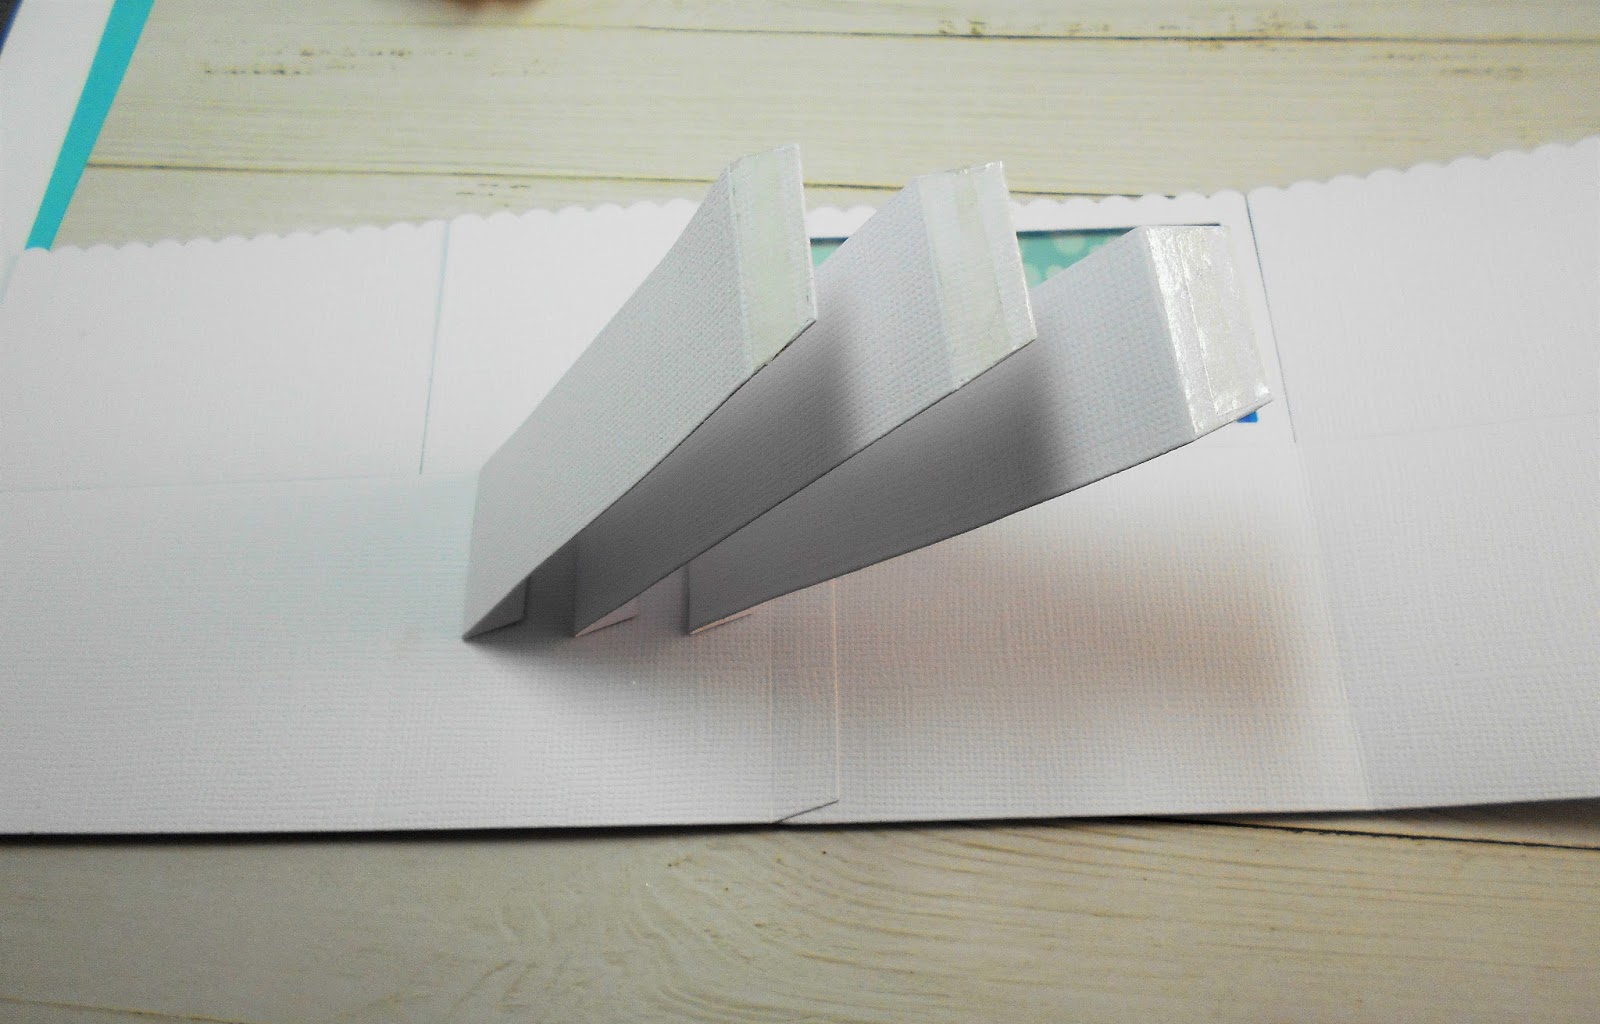
I have raised the white frame that I diecut using  two of
3D Crafty Foam. I finished it of with a few scattered sequins
 Lawn Fawn Ready Set Snow Die Set for the Sentiment.


Copics
Face - E0000, E000, E00, E01, E11, E13, R20
Overalls - E42, E43, E44, E47
Heart - RV00, R81, R83
Shirt - B24, B26, B28
Dino - YG17, YG21, YG25, G24, G94, G99

All these products and more are avaliable at the
The Rubber Buggy Shop and don't forget to visit us on Facebook 
 look for the Videos down the side too, Instragram and the 
Rubber Buggy Design Team Blog where there's a post nearly
 everyday from one of the team.

Happy Crafting
Jennifer

Monday 27 March 2017

Selfie Molli


Hi Everyone hope you all had a Fabulous Weekend. I had the weekend off
and got to spend some of it in my craftroom. Welcome to my new followers.
This week my DT for
and our theme for the week is

This  week we got the new exciting Vinyl and Foil to Create with
it is Awesome and I am going to need an awful lot of it. Sure beats
 using Glossy Accents on black cardstock. All the black on 
my card is Vinyl and the Turquise Foil.

 Stamp 
Dies 

Copics
Face - E0000, E000, E00, E01, E11, R20
Hair - E40, E42, E43, E44
Dress, Hair Ties, Boots, Phone - BG0000, BG000, BG01, BG02, BG05, BG07
Boots - C3, C5, C7, N9


 Also don't forget to join in all the La-La Land Crafts fun by adding
your creations to our Facebook page . Also for more Inspiration we are on Twitter , Pinterest and Instagram too.

Happy Crafting Everyone

Jennifer

Thursday 23 March 2017

La-La Land Crafts - Mini Box Card Tutorial


Hi I am here with a Mini Box Card tutorial for
These great cards will fit all your Mini Marci
size stamps.


So first I cut a template 11 and a quarter by 4 and a quarter inches.
Score a long the centre at 1 3/4 Inches. Then on the long side score
at 3 1/2, 5 1/2, 9 and 11. Cut down the score lines on the top only
to the 1 3/4 inch line. Cut out the 1/4 inch section on the top.


Cut 3 insets 4 x 1 inches and score each end  1/8 of an inch.

Here is my main card cut out.

Cut 3 insets 4 x 1 inches and score each end  2/8 of an inch.

These are my layers for the bottom of the box.
Cut 1 of 3 5/16 x 2 5/16
Cut 2 of  2 5/16 x 1 13/16

Cut 1 of 3 3/16 x 2 3/16
Cut 2 of 2 3/16 x 1 11/16

These are the layers for the top of the box.
Cut 2 of 3 5/16 x 1 9/16
1 13/16 x 1 9/16

Cut 2 1 11/16 x 1 7/16
Cut 2 3 3/16 x 1 7/16

Here they are layered.

Now to pop the inserts in you tape them to the small end
 equal distance apart this will be the inside of your card.

Then join your box then arange your inserts as in the picture
 make sure they are flush with the top of the box.

Then decorate. I have used 
Stamp Set
Dies

Also on the back of the Card I stuck a piece of white 4 1/4 x 3 1/2 cardstock.
So I could write on or stamp a sentiment. Dont forget it does fold down flat
and fits in a regular size envelope.

This is another one I did with the same box design.


 Also don't forget to join in all the La-La Land Crafts fun by adding
your creations to our Facebook page . Also for more Inspiration we are on Twitter , Pinterest and Instagram too.

Happy Crafting Everyone

Jennifer


Stamping Bella - Inlayed Lacey


  Hi I am here with my post for  Stamping Bella Wonderful Wednesday.
This week there is not a sequin in sight. I have  created an inlay die card!
Yes it can be done a card created without sequins!
To start with I used the very Cute LACEY HAS A LETTER rubber stamp
also avaliable as a "CUT IT OUT" die on its own or a BUNDLE where
 you save 15% off.

I then coloured her up in Copics and fussy cut her out yes I know
it is going to be a big shopping cart full of "Cut It OUT's" for me
for my next session of retail therapy. I then used these pretty new
 papers layered up that just somehow turned up on my craft table 😉.
 I then decided to cut my top white layer and die cut out the word
"Happy" with a LLLC's Die I then foam taped a few strips across 
the back and popped the word back in it which I find can be very 
effective. I used one of Make It Crafty's Chippies for the Birthday. 
Not happy at all how that photographed it really is a pretty pink top
 and aqua bottom. I then finished her off with a matching button in
 her hair threaded with matching copic coloured cotton.

Hope you get a good week of crafting in
See you next week

Jennifer

Wednesday 22 March 2017

Lawn Fawn Scalloped Box Shaker Card!


Hi I am here for The Rubber Buggy to show you how to put
 together  this Awesome and I mean Awesome and a must have 
for any cardmaker die  the LF Scalloped Box Card.
So all the dies are in the packet and lots of embellishing
ones too that I didn't use. First I cut out two of the Box.
I also used the small layer die to cut out one of the larger 
scalloped tops to make a window.


I cut 3 of the inserts.


Then I put accetate over it and my 3M tape 
popped a few sequins in it.

I then created the background using 8cm x 10.5 cm 


Then placing it over the sequins.
I then added a layer cutting two 5.3cmx 5.3cm and one
5.3cm x 7.9 cm

cutting two 5.3cm x 4.5cm and one 4.5cm x 7.9cm

  
I then used the layers from the kit this is the bottom of the box
and missed the pic for the top layer. I used
LF Winter Perfectly Plaid.


So you can see the shaker here and see where I have joined
the two pieces together.


I then taped each end of the inserts I placed them on the smaller 
section equally apart.


I taped the joining piece on the end and if you lay them all flat
you fold the bigger section down and they all fit perfectly in the
 right spots.

this how it folds for a standard envelope too!


With all its layers on and you can see the shaker.


Then to decorate! I used Christmas as I like to do Christmas
Cards 2 a month so by the time I get to Christmas I have done
most of them. I used the Fabulous LF Cheery Christmas Set.


Love the way it come out. The sentiment is from
LF Big Scripty Words Winter.


All these products and more are avaliable at the
The Rubber Buggy Shop and don't forget to visit us on Facebook  look for the Videos
down the side too, Instragram and the Rubber Buggy Design Team Blog
 where there's a post nearly everyday from one of the team.

Happy Crafting
Jennifer

Sunday 19 March 2017

Peony Bouquet


Hi I am here with a Card I created for my Mothers Birthday!
I have used the Beautiful Stamp Set and Die Set Peony Bouquet
from Altenew and used there Gorgeous Shades of Purple 4pk Ink
The Embossing folder is from 
I had to do a Shaker Card so I have used a mix of 
The Celebrate Die is from  LLLC's Celebrate You

Hope you had  Lovely Birthday Mum!

Friday 17 March 2017

Rev Up The Fun


Well here I am with a card I made for my BIL .
I used this really great stamp set Rev Up The Fun from  Your Next Stamp
and Checkered Edge which goes so perfect with it. I used the
 Stitched Circles from LLLC's - Stitched Circles
I did wonder what to put behind the shaker then I thought of
this paper I was given" Perfect" but when I put it all together it
looks like he is 18 he he he. Make him feel young :)
I did use a mix of sequins and White Embossed the Sentiment.
Copics
Face E0000, E000, E00, E01, E11
Y15, Y18
YR21
R24, R27, R29
C01, C03, C07. C09


Hope you had a good birthday Fred!

Thursday 16 March 2017

Pina Colada _ Stamping Bella

Hi its's Jennifer here with Wonderful Wednesday.
This week I thought I would have some fun colouring up these 
Gorgeous Tropical Girls aren't they just Adorable in there Coconut and
Pineapple outfits and gotta love those sunnies!

Hi I am here with Wonderful Wednesday for
This week I thought I would have some fun colouring up these 
Gorgeous Tropical Girls aren't they just Adorable in there Coconut and
Pineapple outfits and gotta love those sunnies!
Ok I have used TROPICAL SQUIDGIES rubber stamp and dont forget the
"CUT IT OUT" die avalible on its own or BUNDLE where you save 15% off.
Soooo much easier than fussy cutting I am telling you.

So I got to pull out the new Oxide Inks and Inked around the edges using 
Peeled Paint.

I made a shaker and used the fossilized amber and spiced marmalade inks
on the background with matching sequins. I diecut  a LF Scalloped Circle and
inked it in peeled paint . I then dimensionalized it onto the front of the card.

 Take note stamp the inside with your sentiment before glueing
it together or you might just have to do it again😉 (Good Practice)
I then layered on to orange card stock and then on to my card base.


Added my adorable Image coloured in copics and scattered a few sequins around.
and Voila.

Look forward to seeing you all next week.
Happy Crafting

Jennifer

Wednesday 15 March 2017

Lawn Fawn Scalloped Box Card Pop-Up with The Mermaids


Hi I am here with my weekly post for the The Rubber Buggy and this week
I used the new LF Scalloped Box Card Pop-Up and it is a must have to
any card makers collection. It has all the  dies for your layers, Box
 and inserts and even some great Embelishments. 
I did add an extra layer I cut myself in the purple but it really
 didn't need it. The papers I used were the new gorgeous 
LF Rainbow Perfectly Plaid  they are so yummy as I do like purple.
I also used Mermaid For You stamp set and Mermaids for you Cuts.
I coloured them up with Copics. I stamped all the Coral and Seaweed
in matching  Lawn Fawn Inks.


Aren't they all just adorable!
You can see here I used 3 inserts in the box so I could get more in it
but you can use 2. I also used  acetate to get the fish up higher
so it looks like they are swimming around the mermaid and merman.

So the best part about this cool card is it folds down flat to 
send in a standard envelope how good is that!

 Hope you enjoyed this one
Next week I will show you how easy it is to put together
incase you get stuck with it.

All these products and more are avaliable at the
The Rubber Buggy Shop and don't forget to visit us on Facebook  look for the Videos
down the side too, Instragram and the Rubber Buggy Design Team Blog
 where there's a post nearly everyday from one of the team.

Happy Crafting
Jennifer
Related Posts Plugin for WordPress, Blogger...