Followers

Showing posts with label Lawn Fawn Ink. Show all posts

Thursday, 20 September 2018

Snow Day Pop Up Box


Hi I am here for
The Rubber Buggy
 with a Christmas Box Pop-Up Card. So I have used a mix of older stamps,
dies from a couple of years ago, New release papers and Sparkle Papers.
This is the great thing with Lawn Fawn products they don't seem to delete any
of there stamps and they coordinate them all  new and old so well.
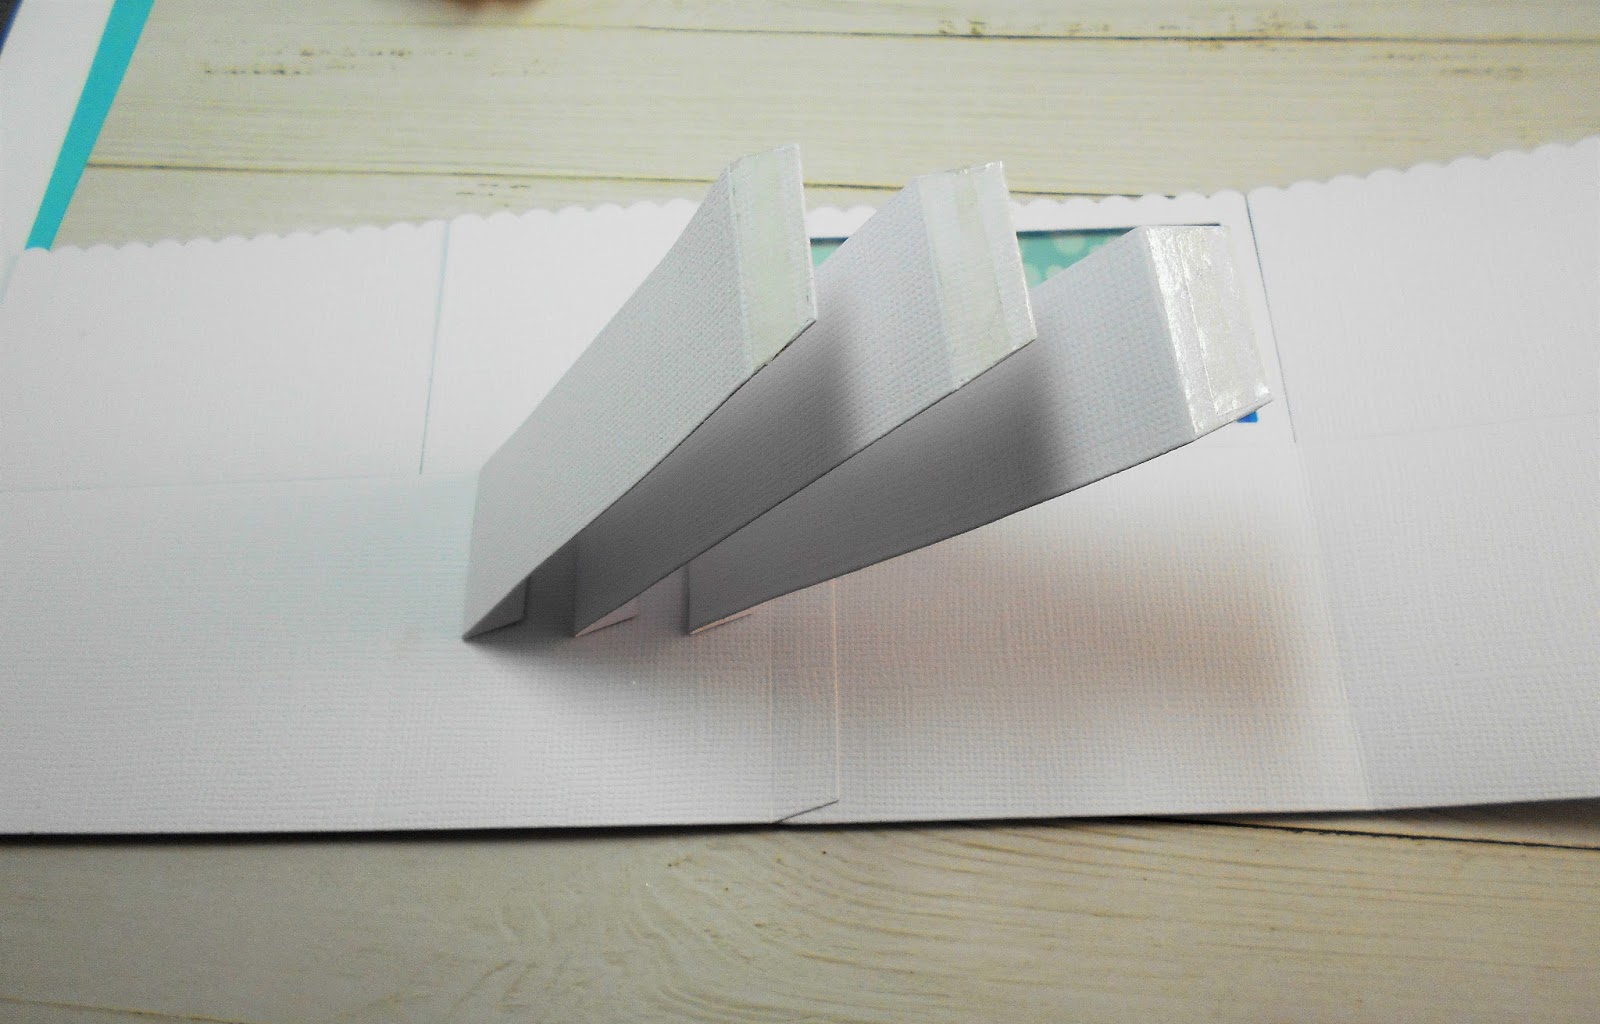
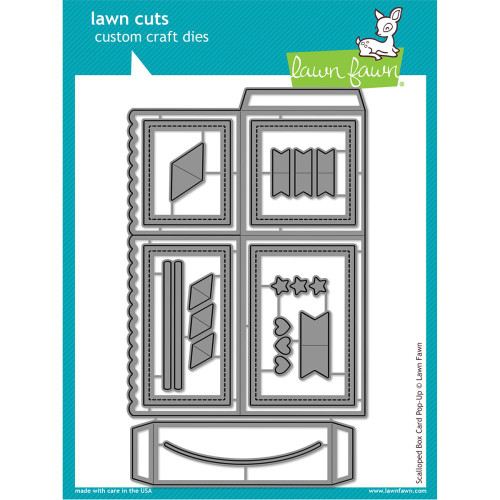
The Box Die is one of my favorites it makes such a great base for
any card occasion be it, Birthday, Halloween, Christmas or a Baby Card.
Today it's Christmas using these fabulous new papers and look I didn't
even have to colour up a background sky by using them.


I do love these Winter Script Die Cuts too.
I stamped it in Lobster.


I hope you enjoyed this Card and all the products I have used are below.

Lawn Fawn - Rubber Stamps - Winter Big Scripty Words (Preorder) (LF1228)
Lawn Fawn - Lawn Cuts -Scalloped Box Card Pop-Up (LF1376)

Lawn Fawn - Stitched Mountain Border Lawn Cuts (LF-1201)

Bazzill
bazzill card shoppe rock candy

Lawn Fawn Ink Pad - Jet Black Premium Ink


I hope you all have a Great Crafting Week

Jennifer

Wednesday, 3 January 2018

Dirty Washing - The Rubber Buggy


Hi I am here for The Rubber Buggy with a Card I created for 
The Rubber Buggy Challenge Blog and this Fortnights 
theme is a Sketch .

This is the Card one

and the Page one.


 I created mine for a card using Lawn Fawn products.
So don't forget to pop on over and pop in your entry. You can
win The Rubber Buggy Dollars.
die cut the centre of the washing machine out popped some washing
in and some Sequins  to create a shaker card. I used the Ink
Fish Tank Blue to stamp the background. I coloured it up in Copics.


Have a good crafting week

Jennifer

Tuesday, 5 September 2017

The Rubber Buggy - Snow Cool Slider Card


Hi it's Jennifer here with my Tuesday post and also to remind 
you not to forget that our Challenge Blog is back up and
running here at The Rubber Buggy Challenge Blog. So don't
be shy pop on over be inspired  and create. We have two 
Challenges a month the 1st and 15th and they run for a
 month each and you can win some crafty dollars. These are
 the 2 for the 1st of the month a 
Card one

 Scrapbook Page

So today I have created a little Slider card for 
and I did it to fit in with the challenge for some inspiration for
 you all. See it's not hard.  I have used LF Snow Cool Stamp Set 
and it's also avalible in dies LF Cuts Snow Cool.  I have used a 
White Card Base a layer of aqua cardstock then a layer from a
cut a Rectangle using LF Small Stitched 4 Bar Rectangles
and embossed it in white using LF Snow Cool Snow Stamp.
I then inked it with Oxide Broken China. I have then cut another
rectangle I cut the slope using LF Stitched Hillside and the slider
using LF Slide on over. I have then coloured them all up using
copics.  The sentiment is from LF Ready, Set, Snow and the 
little snowflakes are LF Mini Snowflakes. I hope you have 
enjoyed this card and don't for get the new Challenge.
See you all next week.

Tuesday, 29 August 2017

Melanie the Modern Bride


Hi I am here with a card I created for The Rubber Buggy using a bride stamp
I will be using this card as a Birthday Card. I have used 
Lemon Craft Paper and matched my copics to colour her up. 
Copic's used are
Face - E000, E000, E00, E01, E11, R20
Hair - E50, E51, E53, E55
Dress, Shoes,  Flowers - BG0000, B00, BG01, BG02, BG05, BG07
Flowers, Ribbon - Y15, Y18, Y21
The frame I created using two dies cutting one inside the other at the 
same time, The LF Fancy Scallop Rectangles and 
I then cut a piece of White Cardstock and 
with water and mopped it off and then sprayed with
  Perfect Pearls added to water to give it a lovely shine.
I have then used 3D tape double thickness to raise the frame.
I also  used the same tape on the back of my Image to raise her up
so she pop's off the page. The Melissa Frances Pearls I coloured
with matching Copics. 
So I will be back on Tuesday and show you how I then used this 
Stamp as a wedding card.


All these products and more are available at the
The Rubber Buggy Shop and don't forget to visit us on Facebook 
 look for the Videos down the side too, Instragram and the 
Rubber Buggy Design Team Blog where there's a post nearly
 everyday from one of the team.
Happy Crafting
Jennifer

Wednesday, 16 August 2017

Oh Joy

Hi I'm here for The Rubber Buggy and this week I have created a
 card using the Moose from the Avery Elle - Snow Much Fun Stamp Set .
It is also avaliable in Avery Elle - Snow Much Fun Die Set
You will remember I used this stamp set with the Polar Bear and Rabbit.
I stamped out my image with LF Jet Black Ink and coloured it
 in Copics. I made a white base and layered it in red cardstock.


2  in white and 1 velumn in  Cardstock.1 white rectangle I
 cut the two snow slopes out off. LF Stitched Hillside Border Dies.
 I taped down  the first rectangle then the first slope I cut on top.
Then I scattered some trees from LF Snow Day


 I then used 3D Foam squares to attach the velumn with
embossed white snowflakes from LF Frosty Fairy Friends.
I then added another slope and more trees.To finish off 
 and scattered some sequins.

All these products and more are available at the
The Rubber Buggy Shop and don't forget to visit us on Facebook 
 look for the Videos down the side too, Instragram and the 
Rubber Buggy Design Team Blog where there's a post nearly
 everyday from one of the team.
Happy Crafting
Jennifer

Wednesday, 2 August 2017

Snow Much Fun


Hi I am here for
The Rubber Buggy
 with a very cute slider card. I have used the
 Avery Elle - Snow Much Fun Stamp Set .It is also
 avaliable in Avery Elle - Snow Much Fun Die Set
I sure wish I had used this Fun set much sooner there is
 some very cute Winter/ Christmas look animals in it.
I am guessing you will see another card from it very soon.
I stamped out my image with LF Jet Black Ink and coloured it
 in Copics. I first cut 2 white LF 4 Bar Small Stitched Rectangles
 and 1 grey in Cardstock.
So to make the Background I  used Distress Ink Tumbled Glass
and Distress Ink Peacock Feathers blended and sprayed with
 water and mopped off on 1 of the white rectangles. I then cut
out of the grey one LF Stitched Mountain Border. I used white
for the mountain tops but you could cut white cardstock cover
them in Glue and then in  Glitter.
The last rectangle I cut the two snow slopes out of
LF Stitched Hillside Border Dies and added
a slider slope for the sledge using the LF Slide on Over Dies.
I finished it off using scattered Lawn Fawn Mini Snowflakes
and clear sprinkled Sequins.


Using one of the sentiments for the inside of the card 
before I glued it in.

All these products and more are available at the
The Rubber Buggy Shop and don't forget to visit us on Facebook 
 look for the Videos down the side too, Instragram and the 
Rubber Buggy Design Team Blog where there's a post nearly
 everyday from one of the team.
Happy Crafting
Jennifer

Wednesday, 19 July 2017

Magnolia Unicorn Gift Cards


Hi I am here with my weekly post for 
I have created some cute Unicorn Gift Cards. 
I have used the new stamp from
Magnolia - I Believe in Unicorns and stamped them up with
LF Premium Jet Black Ink my new favorite ink for stamping 
and using with my copics.
Don't they go well with the
On each card I have created a rainbow and 2 of them
 I used the clouds from  WPlus9 Sunshine Layers and


I have used the  LF Stitched Circle Frames and
LF Large Stitched Circles to create a shaker and a
 really small mix of Sequins to create the shaker.

  I have used a mix of bright copics to colour them up to
match the papers.
All these products and more are avaliable at the
The Rubber Buggy Shop and don't forget to visit us on Facebook 
 look for the Videos down the side too, Instragram and the 
Rubber Buggy Design Team Blog where there's a post nearly
 everyday from one of the team.
Happy Crafting
Jennifer

Thursday, 13 July 2017

The Rubber Buggy - Ahoy Matey


Hi I an here for the
  with a card I created using
Lawn Fawn Ahoy Matey it is also avaliable in 
a lot of  fussy cutting. I have coloured them up in all different
colour Copics.


So I have done a Border Shaker Card using
LF Fancy Scalloped Rectangles the largest and largest
LF Stitched 4 Bar Rectangles also. I cut a frame.
I added acetate to the back and die cut 
LF Small 4 Bar Stitched Rectangle and  added 2 clouds
one of each of the LF Puffy Cloud. 1 in card stock and the other 
1 in velum layered to look good. I also cut them out using the
center rectangle die and the glued them on. Papers used are
LF Rainbow Perfectly Plaid 6x6 the sequins are a mix from all the
newly stocked range of Sequins. I have created a shaker card
using the 3D Tape around the edge of the image piece
that I taped to the center of the acetate and the frame. 
All these products and more are avaliable at the
The Rubber Buggy Shop and don't forget to visit us on Facebook 
 look for the Videos down the side too, Instragram and the 
Rubber Buggy Design Team Blog where there's a post nearly
 everyday from one of the team.

Happy Crafting
Jennifer

Wednesday, 28 June 2017

Lawn Fawn Magic


Hi I am here with my card for The Rubber Buggy and I am
using the new LF Magic Color Slider kit and it is Awesome
and so easy to use ! I can see this being used an Awful lot here!

So to start with I made a card base with white Card Stock
layered with blue I then used LF Peacock Card Stock and
Coloured it with a mix of Oxide Inks Faded Jeans and
 Broken China splattered it with water and blotted to give a 
water look. I dont have the new LF Ocean Wave Borders yet
so I improvised and used LF Puffy Cloud Borders which
I think worked well. The Stamp sets I have used are

I had some googley eyes in my stash that just added.
I coloured them all up in a mix of copic colours. 
Don't you love how it reveals the colour picture.

Magic!


All these products and more are available at the
The Rubber Buggy Shop and don't forget to visit us on Facebook 
 look for the Videos down the side too, Instragram and the 
Rubber Buggy Design Team Blog where there's a post nearly
 everyday from one of the team.

Happy Crafting
Jennifer

Wednesday, 22 March 2017

Lawn Fawn Scalloped Box Shaker Card!


Hi I am here for The Rubber Buggy to show you how to put
 together  this Awesome and I mean Awesome and a must have 
for any cardmaker die  the LF Scalloped Box Card.
So all the dies are in the packet and lots of embellishing
ones too that I didn't use. First I cut out two of the Box.
I also used the small layer die to cut out one of the larger 
scalloped tops to make a window.


I cut 3 of the inserts.


Then I put accetate over it and my 3M tape 
popped a few sequins in it.

I then created the background using 8cm x 10.5 cm 


Then placing it over the sequins.
I then added a layer cutting two 5.3cmx 5.3cm and one
5.3cm x 7.9 cm

cutting two 5.3cm x 4.5cm and one 4.5cm x 7.9cm

  
I then used the layers from the kit this is the bottom of the box
and missed the pic for the top layer. I used
LF Winter Perfectly Plaid.


So you can see the shaker here and see where I have joined
the two pieces together.


I then taped each end of the inserts I placed them on the smaller 
section equally apart.


I taped the joining piece on the end and if you lay them all flat
you fold the bigger section down and they all fit perfectly in the
 right spots.

this how it folds for a standard envelope too!


With all its layers on and you can see the shaker.


Then to decorate! I used Christmas as I like to do Christmas
Cards 2 a month so by the time I get to Christmas I have done
most of them. I used the Fabulous LF Cheery Christmas Set.


Love the way it come out. The sentiment is from
LF Big Scripty Words Winter.


All these products and more are avaliable at the
The Rubber Buggy Shop and don't forget to visit us on Facebook  look for the Videos
down the side too, Instragram and the Rubber Buggy Design Team Blog
 where there's a post nearly everyday from one of the team.

Happy Crafting
Jennifer
Related Posts Plugin for WordPress, Blogger...