Followers

Saturday 29 June 2019

Bellarific Friday - Staphanie Loves To Ballet


and our Theme this week is

Use A Stamp From The New Release

So I chose to to create with

Stephanie Loves Ballet

Such a Gorgeous Stamp
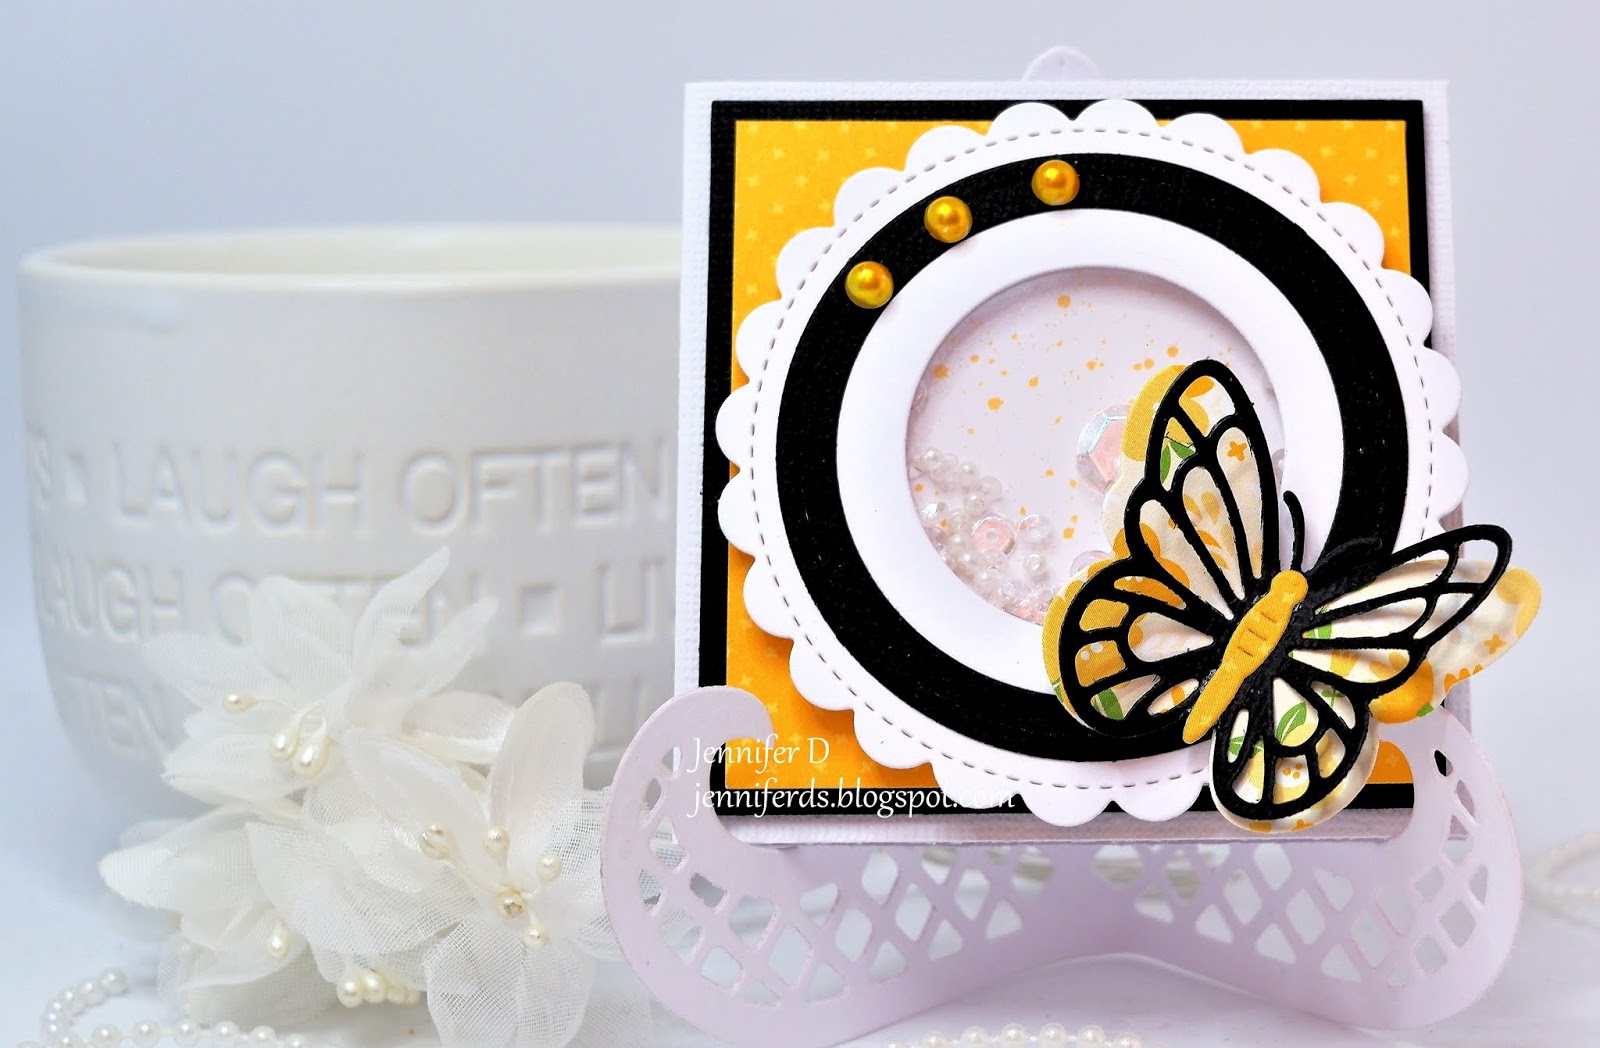
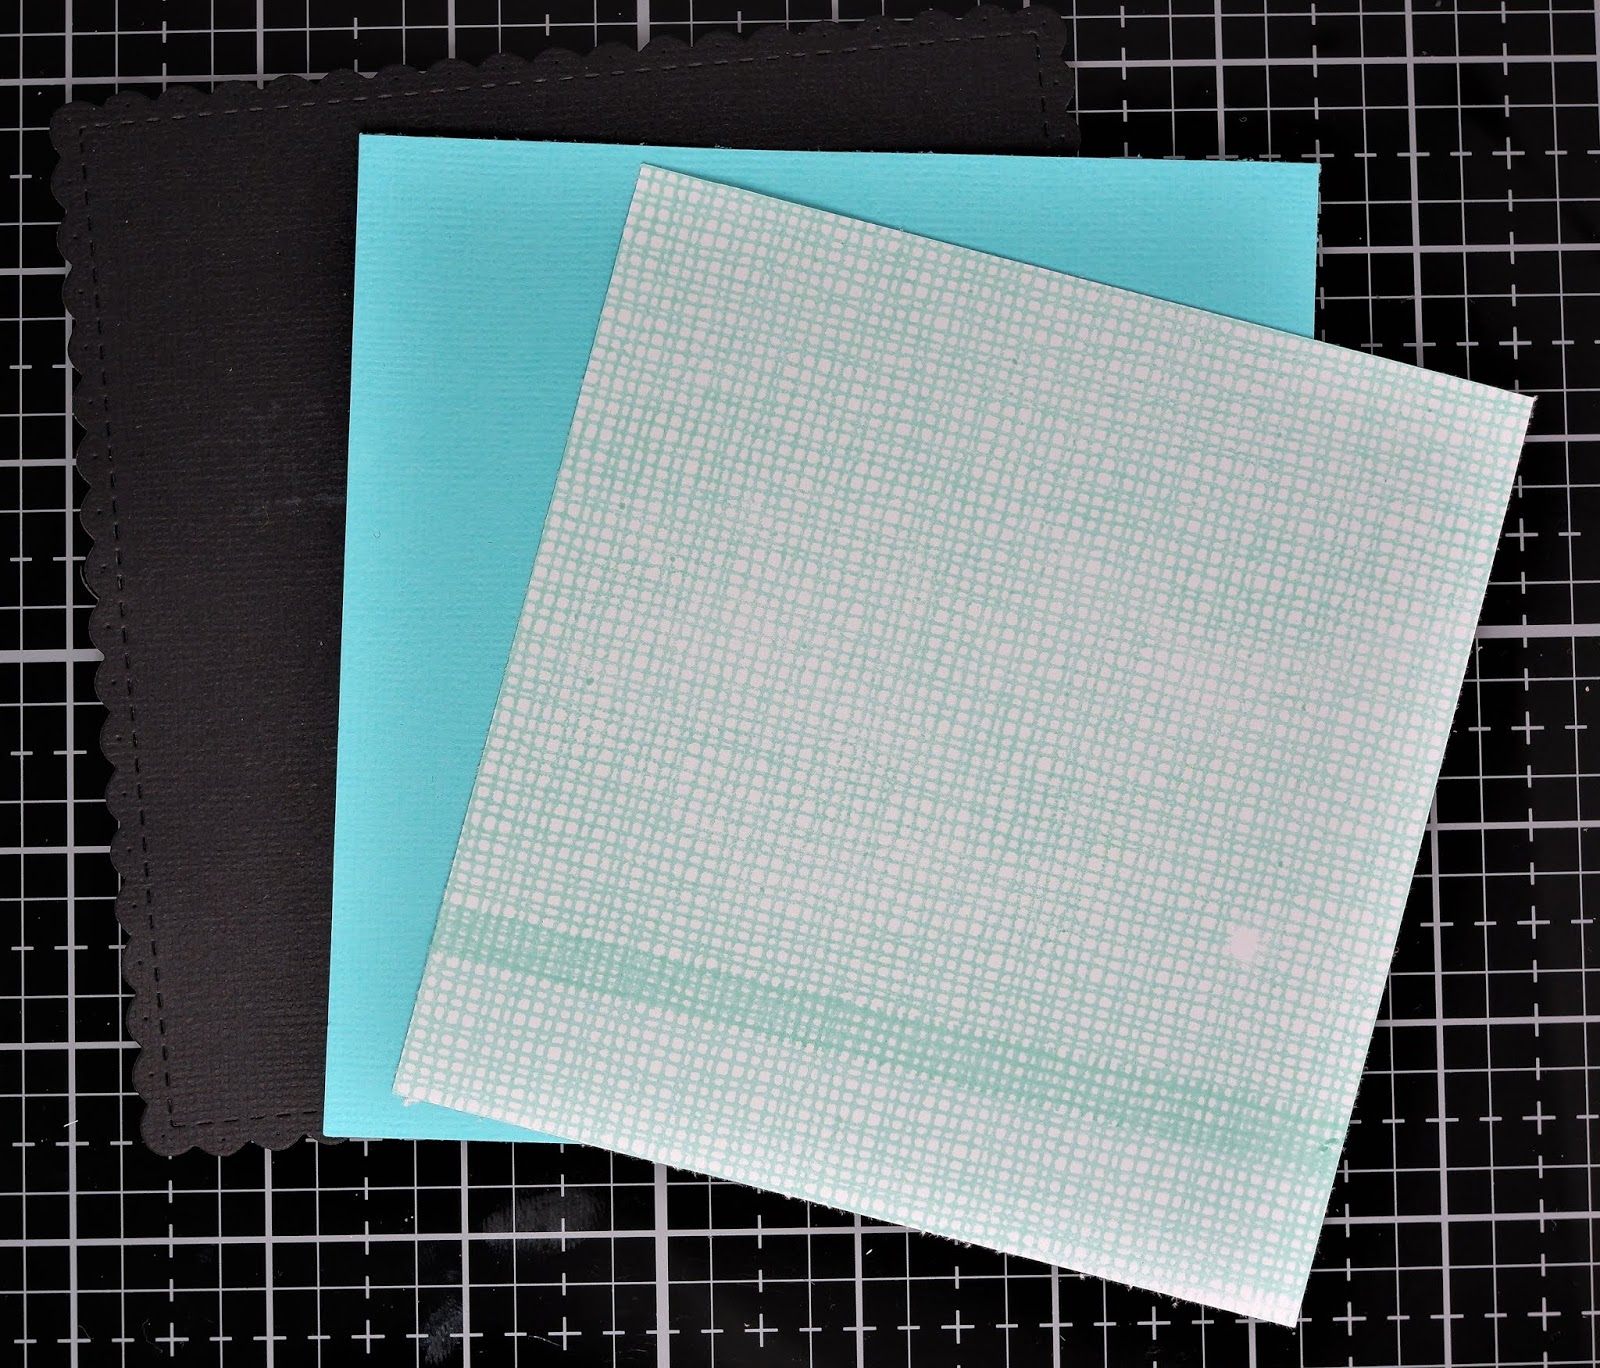
so today I used pinks on her. Soooo many dies
to create the background and shaker. Can you
see how I did it?

Dies I have used are
Altenew  - Gradient Stripes
Craftin Desert Divas - Insinde Scalloped Rectangle
Craftin Desert Divas - Scalloped Rectangle
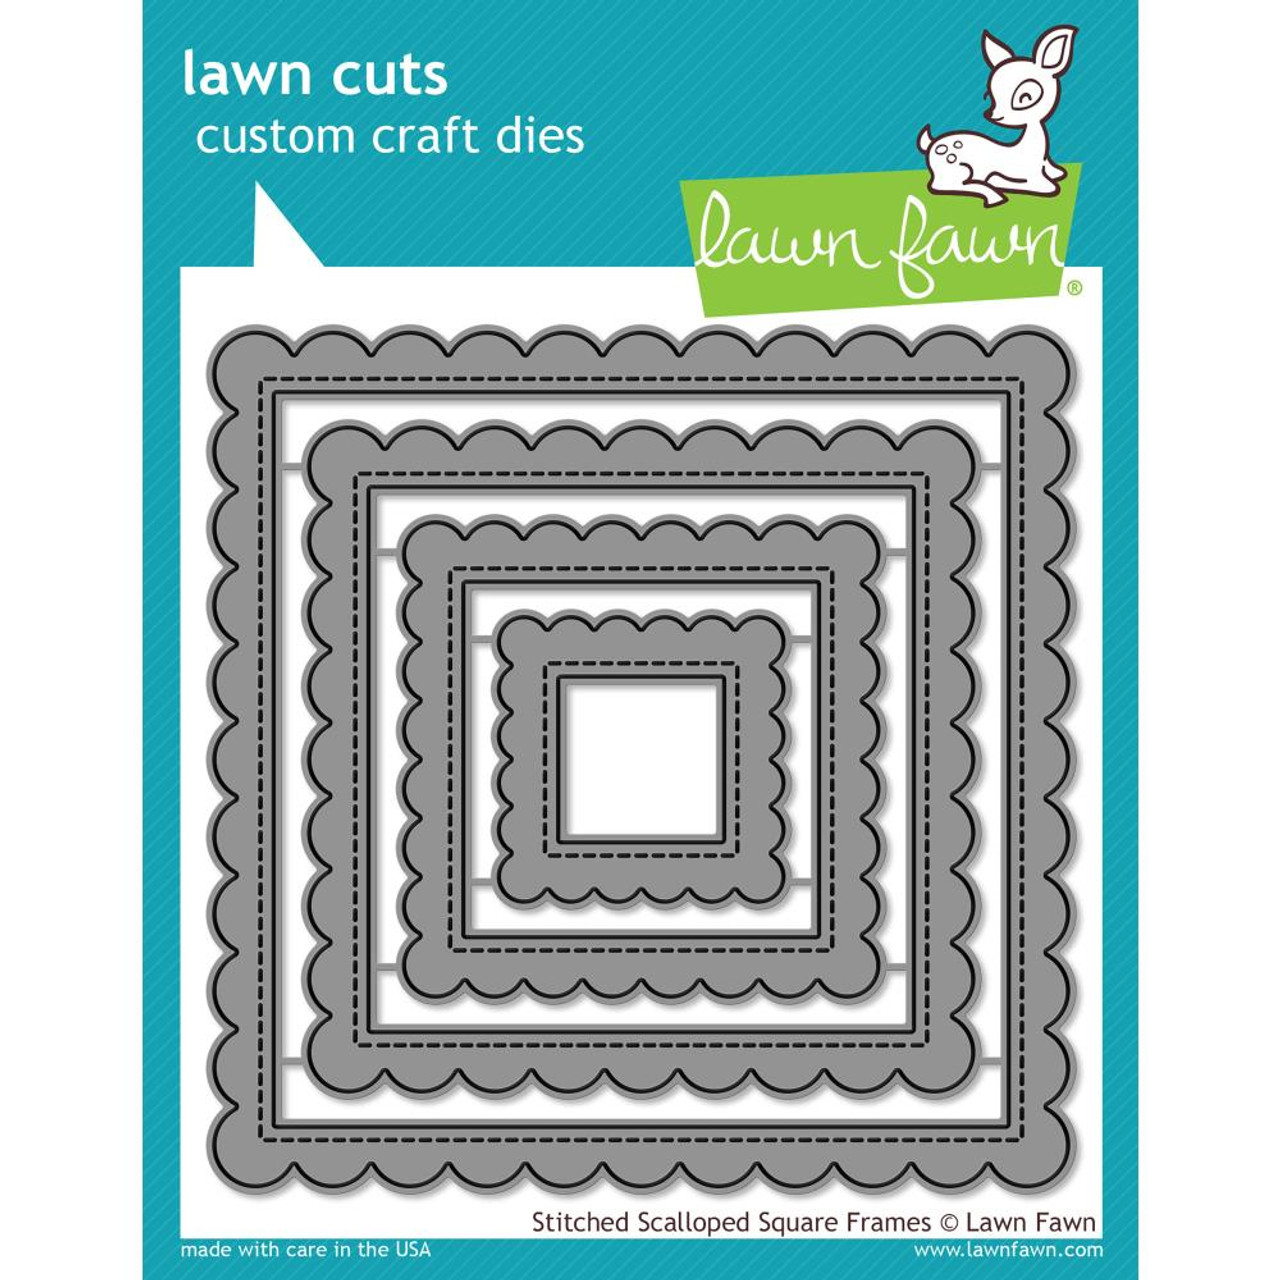
Lawn Fawn - Stitched Rectangles
Lawn Fawn  - Scalloped Rectangles
Lawn Fawn - Polka Heart Backdrop
La-La Land Crafts - Ballet Slippers


Copics
Skin - E0000, E000, E00, E01, E04, E11, R20
Hair - E30, E31, E33, E35
Dress - RV19, RV17, RV52
Ballet Shoes - C05, C07, C09

Also don't forget the Stamp of the Month
 so this means the Stamp  is on special at  25% off for the
Month of May Happy Shopping.

 There is also the colouring challenge at
on FB where you can enter the new challenge
for the Month of
and the theme is
and you just might to win some Bella Bucks.
You also should pop on over to the Blog to see all my


 Teamies Amazing  Cards and projects there this week.
Enjoy your Weekend and Happy Crafting. 


Jennifer

Thursday 27 June 2019

Butterfly Gift Cards - Lawn Fawn


Hi Everyone I am here for
The Rubber Buggy
here with a few gift cards I 
created using the Beautiful Lawn Fawn Butterfly Dies
The first on here I turned in to a shaker card. I used
the  Lawn Fawn  Papers Spring Fling and
 Spiffy Speckles for them all.

This one I just layered the papers using 3D Tape.

So then I thought I would try using square layers 
instead of circles.

Then for this one I created another Shaker.


Bazzill
bazzill card shoppe rock candy

Lawn Fawn Ink Pad - Jet Black Premium Ink


I hope you all have a Great Crafting Week

Jennifer

Monday 24 June 2019

La-La Land Crafts - Piggie Gift Cards


Hi I am here with this weeks card for

and the theme is

So it was the perfect time to create
 a few gift cards

Products Used

Double Stitched Circles - Double Stitched Circles

Copics
Pigs - R00, R01, R12, R22
Leaves - YG03, YG61
Flowers - V12, V15, V00, RV83
Wheelbarrow , Hooves - E43, E44
Hat - E31, E33
Pot - E08, E09

Sunday 23 June 2019

Uniquely Creative - Top Bloke

Hi Everyone I am here to show you another card using
the new June Kit and Add Ons for


and the kit is called


take a look to see what you get in your kit in this

VIDEO


Top Bloke Card

Card Size : 6'' x 4 ¾''

Colours Used :

Copic Markers

Kangaroo, Hat – E30, E31, E33, E70, E71, E74, E77
Ears – R20, R83
Nose – C05, C07
Leaves – YG01, YG17, YG23

Kit Products Used :

Patterned Papers, Card Stock, Copic Paper

Add Ons :

Good Onya Stamp and Die
Aussie Geo Stamps
Tree Die


Extra Uniquely Creative :
Stitched 10 Window Frame, Cross Stitched Rectangles, Enamel Dots

Extras : Copic friendly Ink, 3D Tape, Double Sided Tape, Paper Trimmer


Saturday 22 June 2019

Bellarific Friday - Edna Needs A Martini


and our Theme this week is

It's All About Edna

So I chose to to create with

Edna Needs A Martini

She is a Fairy Godmother with such a fabulous Personality.
Definitely worth checking out the whole collection Here.

I know I couldn't help myself I snuck in another Christmas Card
and it isn't even July Sssssh.

Dies I have used are

Poppy Crafts - Wrapped Scalloped Rectangles
Poppy Crafts - PC1801-7

Copics
Skin - E0000, E000, E00, E01, E04, E11, R20
Hair - E30, E31, E33, E35, E37
Dress - RV00, V91, V93, V95, V99


Also don't forget the Stamp of the Month
 so this means the Stamp  is on special at  25% off for the
Month of May Happy Shopping.

 There is also the colouring challenge at
on FB where you can enter the new challenge
for the Month of
and the theme is
and you just might to win some Bella Bucks.
You also should pop on over to the Blog to see all my


 Teamies Amazing  Cards and projects there this week.
Enjoy your Weekend and Happy Crafting. 


Jennifer

Thursday 20 June 2019

Uniquely Creative - Eucalyptus Christmas

Hi Everyone I am here to show you the new June Kit for

and it's called


take a look to see what you get in your kit in this

Eucalyptus Christmas Card

Card Size : 6'' x 4 ¾''

Colours Used :

Copic Markers

Gum Leaves – G20, YG63, YG67, YG93, YG95
Gum Nuts – E33, E42, E44

Kit Products Used :

Patterned Papers, Copic Paper

Add Ons :

Eucalyptus Branch Stamp and Die
Good Onya Stamp


Extra Uniquely Creative :
Stitched 10 Window Frame, Round Branch Window,
Cross Stitched Rectangles, Fairy Sequin Mix

Extras : Copic friendly Ink, 3D Tape, Double Sided Tape, Card Stock, Paper Trimmer


Christmas Bauble Shaker


Hi I am here for
The Rubber Buggy
 and I thought it was time to do a couple of Christmas Cards 
as I don't like leaving them until the last minute to create
and write in.
So today I used the Lavina Die to die cut out from the
 Lawn Fawn Stitched Rectangle that it just fits in. I only popped
out the little pieces of the ornaments and the centre of the Bauble.
I then cut a piece of acetate and glued it on the back of the stitched
rectangle and glued back in the Bauble and Snow Flakes. I then
cut another Bauble and Snow Flake out and layered it on top. I
 then did it again but used Silver Glitter Paper.
 For the background I cut a White Cardstock base 23.6cm x 15 cm
 and then layered it with Silver Glitter Paper - 14.5cm x 11.8 cm.
Next I die cut the Lawn Fawn - Fancy Lattice Backdrop die out.
My most favorite die at the momment. Now I only popped out
 the bits around the edges and glued the back off it and then down
onto the glitter. Next I used 3D Tape and Sequins and created
 a shaker. Card complete after I sprinkled a couple of sequins around.

Poppy Stamps - Lavinia

Lawn Fawn Stitched Rectangles
Lawn Fawn Small Stitched Rectangles


Bazzill
bazzill card shoppe rock candy

Lawn Fawn Ink Pad - Jet Black Premium Ink


I hope you all have a Great Crafting Week

Jennifer

Monday 17 June 2019

La-La Crafts - Use New Release

 Hi it's Jennifer here with a card for
and our theme this week is

So I decided to create this Quad Easle Card
Link for the Tutorial is HERE
Products Used:

This Little Piggy Clear Stamp Set
In Hog Heaven Clear Stamp Set
Simple Joys Clear Stamp Set
Garden Gate Die
Grass Patches Die
Leafy Vine Die
Flower Bunch Die
Double Stitched Squares

Copics
Pigs - R000, R01, R12, R22
Overalls - B24, B26, B28
Hat - Y08, YR23
Flowers - YR23, Y08, C01, C03
Stems - YG01, YG61, YG67
Hooves, Wheelbarrow - E42, E43, E44
Pot - E08, E09


Uniquely Creative - June Kit


Hi Everyone I am here to show you the new June Kit for
Uniquely Creative

and it's called


take a look to see what you get in your kit in this

VIDEO

So here's a little tutorial for you.

Stamps – Good Onya!, Eucalyptus Branch

Dies – Good Onya!, Eucalyptus Branch, Tree Dies, Stitched Scallop Circles, Cross Stitch Circle Frames, Stitched 10 Window Frame, Stitched Nesting Circles, Round Branch Window

Papers – Aussie Geo Kit Papers
Extras – Sequins from Polar Penguins, Card Stock, Enamel Dots, Copic Paper, 3D Tape,
Tape Runner

Copics – Kangaroo – E70, E71, E74, E77, R81, R83
Leaves – E42, E44, YG00, YG03, YG23, YG67, YG95
Gumnuts – E31, E33, R37


  1. Stamp and Colour up your Images and Die Cut them out. I also Die Cut in white Cardstock Round Branch Window and in the center I used the second size Cross Stitch Circle and Stitched Circle to create a Window. Plus stamp your Sentiment.

  2. Next use 3D Tape to hold the centre circles and run around the edges.

  3. Next Cut your Card Base in White 6'' x 9 ½'', Black 5 ¾'' x 4 ½'', Die Cut 10 stitched Window Frame with the Leaf Pattern, Die Cut Round Branch Window out of the Green Stripey Paper. I then Die cut the Trees out of White Card Stock and Glued it to the Stripy Green Paper.
  4. I then layered each of them with 3D Tape and offset them at different angles including the white one. Next I used 3D tape and taped the Images and glued a few sequins around and finished.


Saturday 15 June 2019

Bellariic Friday - Waterlily


and our Theme this week is

A Vintage Stamp
A Stamp not from the New Release

and I chose to colour the lovely
Waterlily

and I went with an Orange theme.
Problem was Orange is a real stinky colour to photograph I
think this was about my 10th try Grrrrrr.

Dies I have used are

Lawn Fawn - Fancy Lattice Backdrop
Lawn Fawn  - 4 Bar Stitched Rectangles

Copics
Skin - E0000, E000, E00, E01, E04, E11
Hair - E50, E51, E53, E33
Green - YG00, G20, G40, G61, G63
Orange - R24, R29, R39, YR04, YR12, YR09, YR68
Dress- G20, G21, G61, G63, YG0000, YG03


Also don't forget the Stamp of the Month
 so this means the Stamp  is on special at  25% off for the
Month of May Happy Shopping.

 There is also the colouring challenge at
on FB where you can enter the new challenge
for the Month of
and the theme is
and you just might to win some Bella Bucks.
You also should pop on over to the Blog to see all my


 Teamies Amazing  Cards and projects there this week.
Enjoy your Weekend and Happy Crafting. 


Jennifer

Thursday 13 June 2019

La-La Land Crafts - Tutorial Thursday Waterfall Card


Hi it's Jennifer here for 
Tutorial Thursday and I have created a
Waterfall Card using these Adorable  Chickens.


Stamps and Dies Used
Pierced Scalloped Circles
 Stitched Nested Circles
Double Stitched Nested Circles 


So first of all I cut out a Scalloped square using the Scalloped Rectangle
with 19 scallopes on each side. The Aqua card stock is 12.5cm x 13cm.
I stamped in Aqua using the background stamp Simple Joys and cut 
it 12cm x 12.5cm it wont hurt if it overlaps as most of it is covered up.

I then layered them.

  Next I die cut the Mandala Doily in black. The Double Stitched Circle
 I stamped with Yellow using the Background Stamp Simple Joys and 
I also cut an Acetate one.
 I created a frame in white using the Scalloped Circle and Stitched Circle.

I then created a shaker with the pieces.

 Next I coloured up the 3 Chicks and the Egg
I cut the Black in 2 inch squares 4 of them.
The Aqua are die cut using the second smallest Double Stitched Square.
I also stamped them in the Aqua with the Simple Joys 
Background Stamp. I layered them and glued an image to each one.

Next I cut out the Waterfall Base. I cut it 4 inches wide by 8inches.
Scored at 2 Inches, 2 1/2 inches, 3 inches, 3 1/2 inches. I then cut
in 1 inch each side and left 1 inch at the bottom both sides.
 I also scored them.  I used the tag die to create a fancy end.

I then taped one of the layered squares on the bottom.

For the next square I taped only the sections inbetween the scores
and placed the square on the top of the score mark
 I did the other two in the same way.

  Finished with the Images on.

So fold the remaining strip to the back and fold the flaps
over the top of the strip. These flaps are the only part you 
will tape to the card so use good tape.

 Now you can pull your tag end and see it in action.
First Square.

Second Square. 

Third Square. 
Forth Square.

I added my shaker tp the top of the card and added a Hen.

Hope you liked this Card Design and would love to see what
you create with it.

Hope you all have a Great Crafting Week

Jennifer
Related Posts Plugin for WordPress, Blogger...