Followers

Showing posts with label 3D Foam Tape. Show all posts

Thursday, 27 June 2019

Butterfly Gift Cards - Lawn Fawn


Hi Everyone I am here for
The Rubber Buggy
here with a few gift cards I 
created using the Beautiful Lawn Fawn Butterfly Dies
The first on here I turned in to a shaker card. I used
the  Lawn Fawn  Papers Spring Fling and
 Spiffy Speckles for them all.

This one I just layered the papers using 3D Tape.

So then I thought I would try using square layers 
instead of circles.

Then for this one I created another Shaker.


Bazzill
bazzill card shoppe rock candy

Lawn Fawn Ink Pad - Jet Black Premium Ink


I hope you all have a Great Crafting Week

Jennifer

Thursday, 27 September 2018

A Chicks Christmas


Hi I am here for
The Rubber Buggy
 here with a Christmas Card using this really Cute
Stamping Bella Stamp Christmas Morning Chicks.
I have coloured them up using 
Copics
Chicks - Y00, Y15, YR16, YR23, YR68, E33
Greens - YG17, YG21, YG23, G63, G67
Reds - R24r, R27, R29
Grey's - C00, C0, C01, C03
Ground - W0, W02, W3
Box Stuffing - BV23, BV21, BV20
I have got 2 new sets of Dies from Lawn Fawn  Large Stitched Rectangles
 and Small Stitched Rectangles and they layer Beautifully.
I used 3D tape on the red, Silver and White Layers for dimention.
Stamping Bella - Woodsies Christmas Morning Chicks (EB317)

Lawn Fawn Small Stitched Rectangles
Lawn Fawn Large Stitched Rectangle Stackables
Lawn Fawn Really Rainbow Christmas Petite Paper Pad
Bazzill
bazzill card shoppe rock candy

Lawn Fawn Ink Pad - Jet Black Premium Ink


I hope you all have a Great Crafting Week

Jennifer

Monday, 25 June 2018

Congratulations


Hi I am here with a Shaker Engagement card for 
My Son and his Girlfriend of 6 years got Engaged so I though I
had better get the Card done.
So I thought this would be the perfect Image .
I have created a Shaker with the Scalloper Circles making sure to
put the Orange Circle on the inside on an angle so it looks like a thin moon.
I have layered the Blue and Orange using foam tape. I then Glued the Shaker on 
                          I coloured Emily and Ryan and popped them on using  3D Tape.

       I Copiced them using
Skin - E0000, E000, E00, E01, E04, E11
Blue - B0000, B000, B91, B93, B95
Pants, Shoes - C05, C07, C09
Flowers YR12, YG16, YR16, Y15


Stamping Bella Uptown Girls Couple Emily and Ryan under the Umbrella
Lawn Fawn Lawn Cuts - Outside In Stitched Scalloped Circle Stackables (LF1504)

Lawn Fawn Stitched Scalloped Rectangle Frames Lawn Cut (LF1719)


Lawn Fawn - Small Stitched 4 Bar Rectangles Lawn Cuts (LF-1027)

bazzill card shoppe rock candy


Lawn Fawn Ink Pad - Jet Black Premium Ink
Craft Medley Cup Sequins - Black & White Classic (GC457A)
I Hope you enjoyed this Card and hope
you all have a Great Crafting Week.

Jennifer

Tuesday, 27 February 2018

Ragged Romeo


Hi I am here with my post for

The Rubber Buggy 

 here and today I have a layered card. Yes not a Sequin
in sight. I have coloured up this really Beautiful Stamp
I have layered Blue and Brown Bazzill on a white card base. I have
then created a frame using Lawn Fawn Small Stitched Rectangles and 
Lawn Fawn Fancy Scalloped Rectangles. I have used a double layer off 
3D Tape and layered it on a white rectangle base and then Embossed
vellum and taped it to it then placed the frame on it.

I have fussy cut the Image and double layered the 3D tape under the Image.
This Image could be used for a Birthday, Engagment etc. 
Hope you enjoy this Sweet Card.

Happy Crafting

Jennifer

Wednesday, 13 September 2017

Ellie The Elf


Hi I am here with my Tuesday post for 
and also to remind you not to forget that our Challenge Blog is back 
up and running here at The Rubber Buggy Challenge Blog.
 So don't be shy pop on over be inspired  and create. We have two 
Challenges a month starting the 1st and 15th and they run for a
 month each and you can win some crafty dollars. 
So I am here with a Christmas Card using this really cute stamp
Stamping Bella Ellie The Elf  she was a lot of fun to colour up.
I layered her on a 22 x14.5cm   White Card Stock for the base,
I then cut the red out of Red Bazzil with the largest
 LF Fancy Scalloped Rectangle the next layer is silver glitter
cardstock cut using the Largest LF Small 4 Bar Stitched Rectangle.
The Image is cut out using the largest LF Largest Stitched 4 Bar Die.
Inbetween each layer I have raised them using 3D Foam Tape.
I have coloured her up using Copics. I have added some sparkle
to the Baubles and fur trims using Wink of Stella Clear.


The Sentiment was cut out using  the smallest die from
LF Large Stitched 4 Bar Dies. I also ran glue around the
edge of the rectangle on the image and the sprinkled
Clear Glitter on it. I finished the card off with some
clear scattered Sequins.

Hope you enjoyed this card and hopefully next week I will
have all my new Lawn Fawn product to create with.

Hope you have a happy Crafting Week

Jennifer

Tuesday, 29 August 2017

Melanie the Modern Bride


Hi I am here with a card I created for The Rubber Buggy using a bride stamp
I will be using this card as a Birthday Card. I have used 
Lemon Craft Paper and matched my copics to colour her up. 
Copic's used are
Face - E000, E000, E00, E01, E11, R20
Hair - E50, E51, E53, E55
Dress, Shoes,  Flowers - BG0000, B00, BG01, BG02, BG05, BG07
Flowers, Ribbon - Y15, Y18, Y21
The frame I created using two dies cutting one inside the other at the 
same time, The LF Fancy Scallop Rectangles and 
I then cut a piece of White Cardstock and 
with water and mopped it off and then sprayed with
  Perfect Pearls added to water to give it a lovely shine.
I have then used 3D tape double thickness to raise the frame.
I also  used the same tape on the back of my Image to raise her up
so she pop's off the page. The Melissa Frances Pearls I coloured
with matching Copics. 
So I will be back on Tuesday and show you how I then used this 
Stamp as a wedding card.


All these products and more are available at the
The Rubber Buggy Shop and don't forget to visit us on Facebook 
 look for the Videos down the side too, Instragram and the 
Rubber Buggy Design Team Blog where there's a post nearly
 everyday from one of the team.
Happy Crafting
Jennifer

Wednesday, 9 August 2017

Maggie and her Penguin


Hi I am here with my weekly post for
The Rubber Buggy
 and today  I was going to do a Moose
Card from the Snow Much Fun Stamp Set but I really
 wanted to colour up a Girl so I found this Adorable Girl
Mo-Manning - Maggie with a Penguin by Stamping Bella.
I coloured her up with

Copics
Face - E0000, E000, E00, E01, E11, R20
Dress - R32, R35, R37, R39, R59
Hat, Mittons, Tights -YR11, G21, G61, G63
Hair - E33, E25, E27
Penguin, Boots - W3, W5, W7, W9
Penguin Tummy - BG0000,  B000
Penguin Beak - Y18, YR16

I then used my favorite dies LF Fancy Scalloped Rectangle Stackables
 using Red Bazzil I cut the first layer then the next two white layers I used
LF Large Stitched 4 Bar Rectangles and LF 4 Bar Small Stitched Rectangles.
In between each white layer I used 3D Foam Tape.
I fussy cut Maggie out and used the foam tape under her.
I also used a few sequins in clear, Red and Green for effect but
what would have been good would have been some Nuvo Drops in the
colours to match. I also finished her jumper up with some Dylusions 
Dylusions White Pen. The Sentiment was stamped with LF Jet Black Ink
and cut out with LF Small Stitched 4 Bar Rectangles


All these products and more are available at the
The Rubber Buggy Shop and don't forget to visit us on Facebook 
 look for the Videos down the side too, Instragram and the 
Rubber Buggy Design Team Blog where there's a post nearly
 everyday from one of the team.
Happy Crafting
Jennifer

Wednesday, 3 May 2017

Stamping Bella with Style - The Rubber Buggy


Hi I am here with my weekly post for
Today I decided to use  the Beautiful
I used a lot of Copics to colour her.
So I tried a few backgrounds with splashes of
 Sequins to create a Shaker Card but they were
 all way to busy and looked to messy so I took everything
 away and went with a plain white background sprinkled 
with a few clear sequins. You could use this background
with any Image it really highlights them as your focus is
drawn to the Image.


I have used plain white cardstock then die cut the largest
3D Foam Tape.  The next layer I diecut the second largest
Lawn Fawn Stitched Rectangle Frame and kept the centre.
I  raised both those together with the 3D Foam Tape. I then 
stamped the sentiment with Lawn Fawn Black Licorice Ink
and  used the 3D Foam Squares cut in half and place
 Charolette on the Card.


All these products and more are avaliable at the
The Rubber Buggy Shop and don't forget to visit us on Facebook 
 look for the Videos down the side too, Instragram and the 
Rubber Buggy Design Team Blog where there's a post nearly
 everyday from one of the team.

Happy Crafting
Jennifer

Wednesday, 8 February 2017

Finished Tilda - The Rubber Buggy


Hi Everyone I'm here with my finished
card from last week  for The Rubber Buggy when we did the
 face tutorial. The link for the face Tutorial is Here.
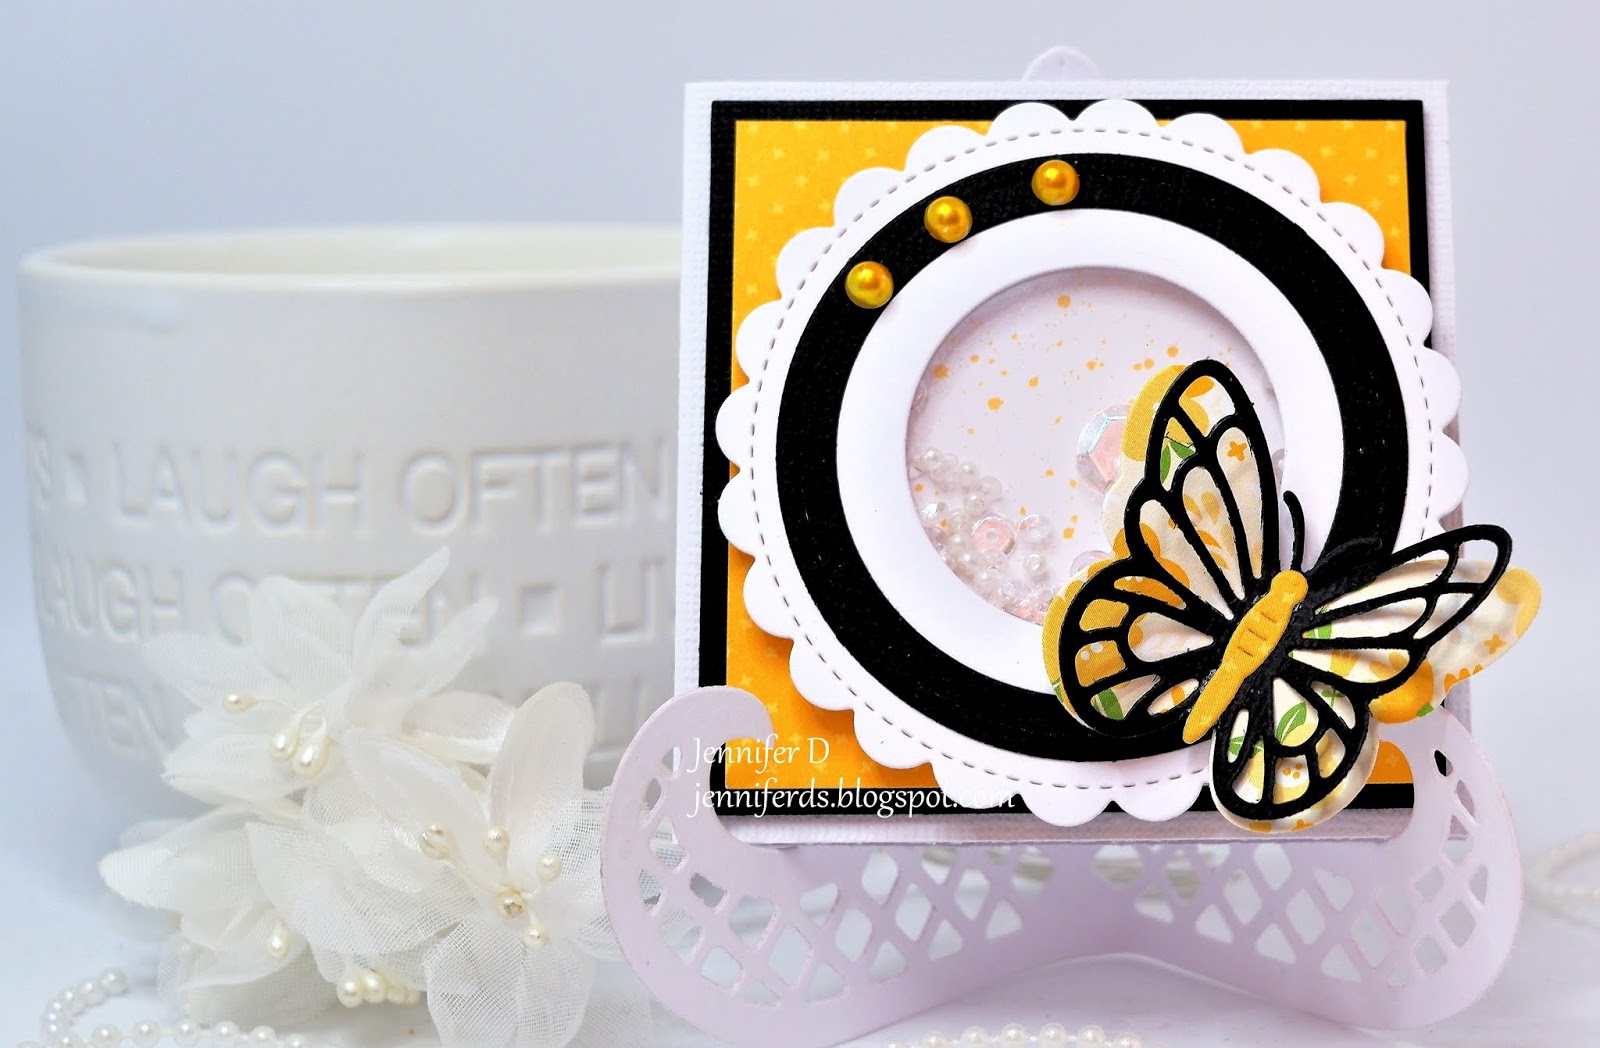
So I was going to make her into an Easle Card with lots of
layers and lace but then decided to take a step back and just
 do a CAS card and give her centre stage.
So I have cut a card base 23cmx15.5cm
lavered it in a piece of Bazzill to match my paper
11cmx15cm. Then the same Bazzill 14.5cmx7cm.
I then used Pion Sent Of Lavender
to highlight her 14cmx6.5cm. I then layered them
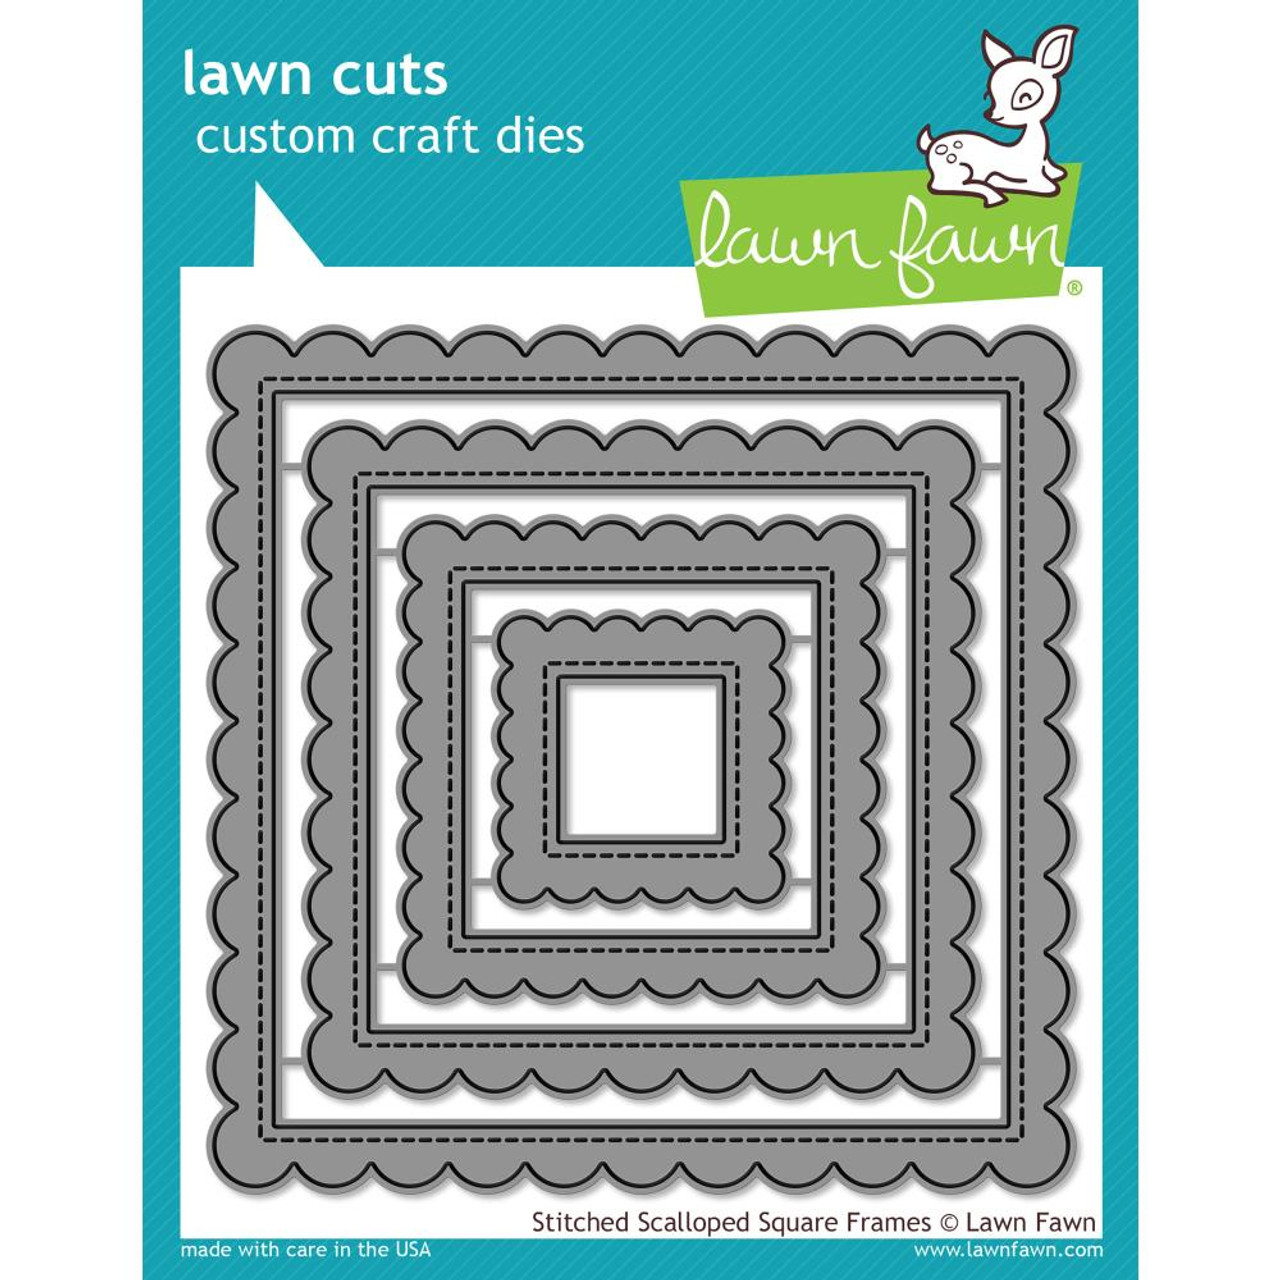
all up as in the picture. Now to do the frame I used the 
I am just in love with these. The holes around the edges 
are just so delicate I'm sure its going to get a good
 working out I can see. I used the second biggest and I then
cut 1cm in all around the inside with  my paper trimmer.
I then cut my Image to 7cmx10cm and  ran 3D Foam Tape
cut to fit around the bottom of the frame and then my Tilda.
I then used the 3D Foam Tape to layer her framed on the card.
I was going to do more but kept looking at her thinking
 she is just perfect all by herself.
Copics I used are
Face - E0000, E000, E00, E01, E11, E13, R21
Hair - E25, E30, E31, E33, Y21
Flowers Base - C0, C01
Outfit, Flower Tops - RV00, RV91, RV93, RV95, RV99


All these products and more are avaliable at the
The Rubber Buggy Shop and don't forget to visit us on Facebook  look for the Videos
down the side too, Instragram and the Rubber Buggy Design Team Blog
 where there's a post nearly everyday from one of the team.

Happy Crafting
Jennifer
Related Posts Plugin for WordPress, Blogger...