Followers

Monday, 4 November 2013

Shakey A and C.C Design Blog Hop

 Wow How Excited are we!!!!!!
In celebration of Alberto joining the C.C. Family of Illustrators we are having a combined Blog Hop with  the  Shakey A and C.C Design Team.

Alberto has 3 new images that will be available in rubber and digi. The hop starts November 4th  and ends November 7th at 9:00 am est. Follow the hop and make sure to comment on each blog, 1 lucky winner will receive all 3 new images in digi. We aren’t telling were the prize is located. Have fun hopping away through the hop.

You should have arrived here from Gios Blog gio- http://lepiccolecosedigio.blogspot.it


I have had a Lovely time colouring this
sweet Image  she is called "Reindeer" .
I have coloured her in Copics and used  Spellbinder and Lifestyle Dies
  pop on over and see the
rest of the Gorgeous Collection
Here!


 Now onto the next stop of our blog hop elise- http://paperloveaffair.blogspot.it/


 Here is our hop order if you got lost

C.C. Designs Blog http://ccdesigns.typepad.com/cc_designs/
Alby- http://loshakeratoalberto.blogspot.it/

Eulalia- luniversodieu.blogspot.it

Delphine- http://delphinesplace.blogspot.com/

becky- attic-crafter.blogspot.co.uk

gio- http://lepiccolecosedigio.blogspot.it/

jenny dix- http://jenniferds.blogspot.it/

elise- http://paperloveaffair.blogspot.it/

franz- http://fran-z-blog.blogspot.it/

Christa http://scrappies-van-christa.blogspot.nl/

Eva http://craftingthisandthat.blogspot.com/

Nancy http://www.nancythomas.blogspot.com/

Friday, 1 November 2013

Jewel

I am so Excited they asked me to be a  Guest Designer for
The Emerald Faerie 
and I get to use all my favorite Embellies!
The Theme is
 Ribbons, Lace and Bling
I also get to use one of the Gorgeous New Releases
Jewel
So pop on over to the
Emerald Faerie
and see what the Amazing Design Team
 have Dreamed up for Inspiration
for you!
Don't forget to look for the New Releases
Here!
 
I have used the Gorgeous image "Jewel"
I coloured her in Copics
E0000,000,00,01,11,50,51,53,55
RV,91,93,95
YG,0000,000,01,11
YR21
Y21
R20
C0,01
I have highlighted her with Prismacolour Pencils

I have Inked all the edges with Dusty Concord and
 over the top of that Adirondack Pearl to give it a Sheen.
I have  Frantaged around the image  with Vintage White.
I have Gorgeous mauvey pink ribbon layered with
hot purple with Sparkles and Lace over the top and
mauve pearls in the centre of the flowers.
A little hard to see I have the Camera Guru
trying to get a better picture on it for me.
Dies used are all Spellbinders


Marvelous Magnolia


Hi Marvelous Magnolia Fans 
Its our 1year
 
BIRTHDAY BASH!!!
We want to see your birthday creations
and this time you have 2
full weeks to create!!!
 
 We have an Awesome new romantic shabby chic look Blog
Pam has done an Amazing
job of the Blog Design and
 Samantha
 for the super awesome coloring
 of the Tildas that now grace the blog.
 
Now lets get this party started!!!


The sponsor prizes will be available to Marvelous Magnolia

followers only and each day of the 2 week birthday bash
we will be featuring a different GDT member...
to be in the draw to win the prize,
you must comment on the challenge blog post
and you must also comment on the personal blog of
our GDT member for that day.
Our GDT members begin tomorrow!!!
If you comment on each day of the bash, you would be in the draw
for each of the prizes!
 
In addition to all the sponsor prizes,
ALL of our DT gals are giving their creation away
to one lucky winner on their personal blogs!!
You must also be a Marvelous Magnolia follower
and comment on all the DT members personal blogs!
Each DT member will randomly select one
winning commentor and mail them their creation!
So come on and get started
Here

 
We have an amazing line up of sponsors
 
for this birthday bash,
 
and here is the list.....
 
Stamp and Create

Powered by Zen Cart :: The Art of E-Commerce
 
and more are coming on board week 2!!!


Monday, 28 October 2013

Show the Way Tilda

Wow! I get to be Guest DT again for theAmazing
 Lovely hAngler and Sweet Magnolia
the Theme this fortnight is
Sparkle
Make sure you have a look at there
Awesome DT Inspirational projects!
Here!

Isn't she a Gorgeous Stamp out of
my new freshly arrived new Maggie Stamp Kit.
Also my two new sets of Snowflake Dies
also just arrived from Ashcrafts.

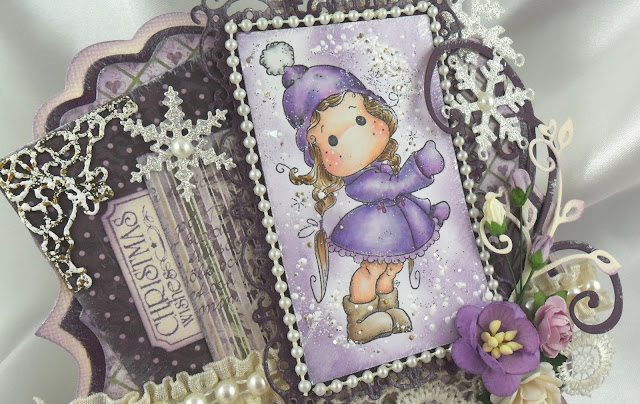
I have coloured my new Magnolia "Show The Way Tilda" up!
I used Copics
E0000,000,00,01,11,13,40,42,43,44,50,520,53,55
Y31
R20
BV0000,000,00,01
V15
Prisma Colour for Highlights
Sentiment LOTV and StampinUp
Papers Maja
Dies Spellbinders,Lifestyle,Doohickeys,Cottage Cutz OS and Elizabeth
Flowers Lace and Pearls from my Stash
Ticket Punch from Stampin Up


I am entering it in A Creative Romance- Add Metal
Magnolia-Licious-Anything Goes
Tilda Town-Bling
Totally Tilda- Just The Ticket


Friday, 25 October 2013

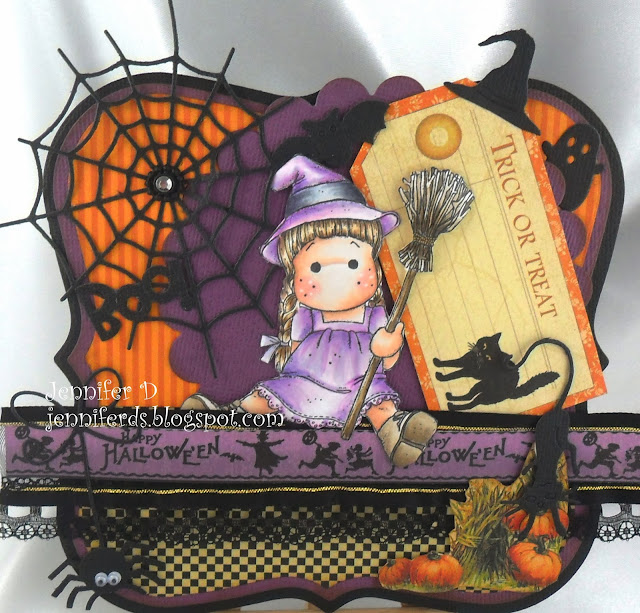
Sitting Witch

Hi Everyone it is nearly Halloween time
 and our Theme for
 Marvelous Magnolia is Halloween or Fall
and our Sponsor is
Crimson Cloud
So get crafting Girls we want to see
your Amazing Creations go and get some
Inspiration from my Teamies
Here!
 
I have coloured her up with Copics
E0000,000,00,01,11,13,40,41,43,44,50,51,53,55
C3,5,7
BV0000,000,00,01
V15
Prismacolour Pencils for Highlights
Paper Graphic 45
Dies CuttleBug, Cheery Lynn, Memory Box and Spellbinders
Lace from my Stash
My Little Black Ghost is from my Special Friend Maureen
can you find him?
I am entering it in CMC-Anything Goes
Magnolia-licious-Anything Goes
Mid Week Magnolias- Lots of Layers
Time For A Magnolia Challenge-Fall or Halloween


Wednesday, 23 October 2013

Opal The Optimist

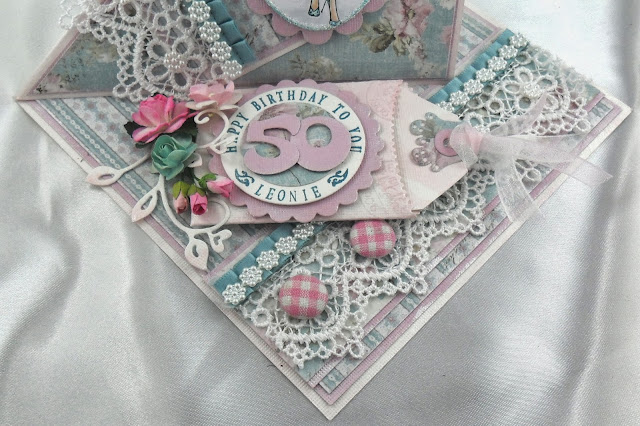
This  is my DT Card for
Deep Ocean and the Theme is" Button it Up"
Our Wonderful sponsor this Fortnight is
The Ribbon Girl
so go and have a look at what my
 Gorgeous Team Mates have Designed to Inspire
 YOU
HERE!
 
I have used this Gorgeous Stamp from stamping Bella
 called "Opal The Optimist"
She has been coloured in Copics
E000,00,01,11,50,51,53,55
R20
RV32,34
Y31
YR21
BG0000,000,00,01
G63,67
 

I have used Maja paper
Lots of Flowers, ribbons and Lace from my Stash
Dies are Cottage Kutz, Spellbinders, Doohickeys
The Gorgeous Buttons have been looking at me a while just
 asking to be used so the opportunity has arisen and they were
put to good use


I used The Stamp Rite Stamp to do the name.
As you can Tell it is for a friends 50th.
Hope she has a Lovely Birthday!
I am entering it in Fussy and Fancy-Celebration


Monday, 21 October 2013

Jennifers Easle Card Tutorial

 
 Well here it is Girls I know Fenella has waited a
while for this Tutorial.
I just hope it is easy to follow any problems
 just send me an E-mail.
 Well here goes!

 
First I cut 3 Different Ovals from spellbinders you
can use any design. I used one Designer Paper,
One with an Image Stamped and Coloured and one in Basil.

 
 Then layer them using dimensionals on each layer.

I

Then cut this out by folding Basil in half
and cutting as in the diagram below with the folded
 edge running down where it isn't going to be cut off.
 Then fold it in half again on one side only.


These are the pieces for the Base of the Card

I have then just layered the 3 pieces.
Notice I have the purple layer on the bottom then
white then the designer paper on top
 This is the Front of the Card. So just cut out the
same size 3 pieces you used for the base but
don't put them together yet

To do the Butterflies I cut a Designer and a matching Cardstock
in these Petty Dies

I then cut a single matching butterfly and Fran-taged them

I then glued the Designer paper on to the Basil,
But I only glued half there wings down and I cut
the larger butterfly off. I also Glued the center of the
 the single butterfly and stuck it onto the
largest butterfly left on the strip


See the Butterflies joined and Wing only half glued down!

I then layered the front of the card the same as
 the base, making
 sure I glued the Butterflies inbetween the layers
even the one I cut off  just so I could work it around the card!
I then put lace and a Doily on it
see below on how I layered the Lace

These are the 3 Layers of Lace, Ribbon and Pearl chain I used.
I either Glue them on or just use double sided tape.


Then add The layered Image!


These are the flowers and Flourishs
that I arranged around the card
I then cut out these die shapes and layered them all up

To get This !
It is s a Sweet Stamp from LOTV

I have layered the Lace on the card and then the sentiment and
added a couple of the smaller butterflies in the same way I
 did the larger ones.The Butterflies came off the same die!
The top bit  where the tape is
Is where the Front of your card goes on .
Make sure it is Straight
and I also poped a Rose on the large Butterfly


Isin't she Gorgeous!. I have added my
2 bunches of flowers and pearls on the Butterflies!
I also went around each piece in Purple Ink.

Hope you have enjoyed this Tutorial.
 

Related Posts Plugin for WordPress, Blogger...