Followers

Showing posts with label Winobella. Show all posts

Saturday, 15 July 2017

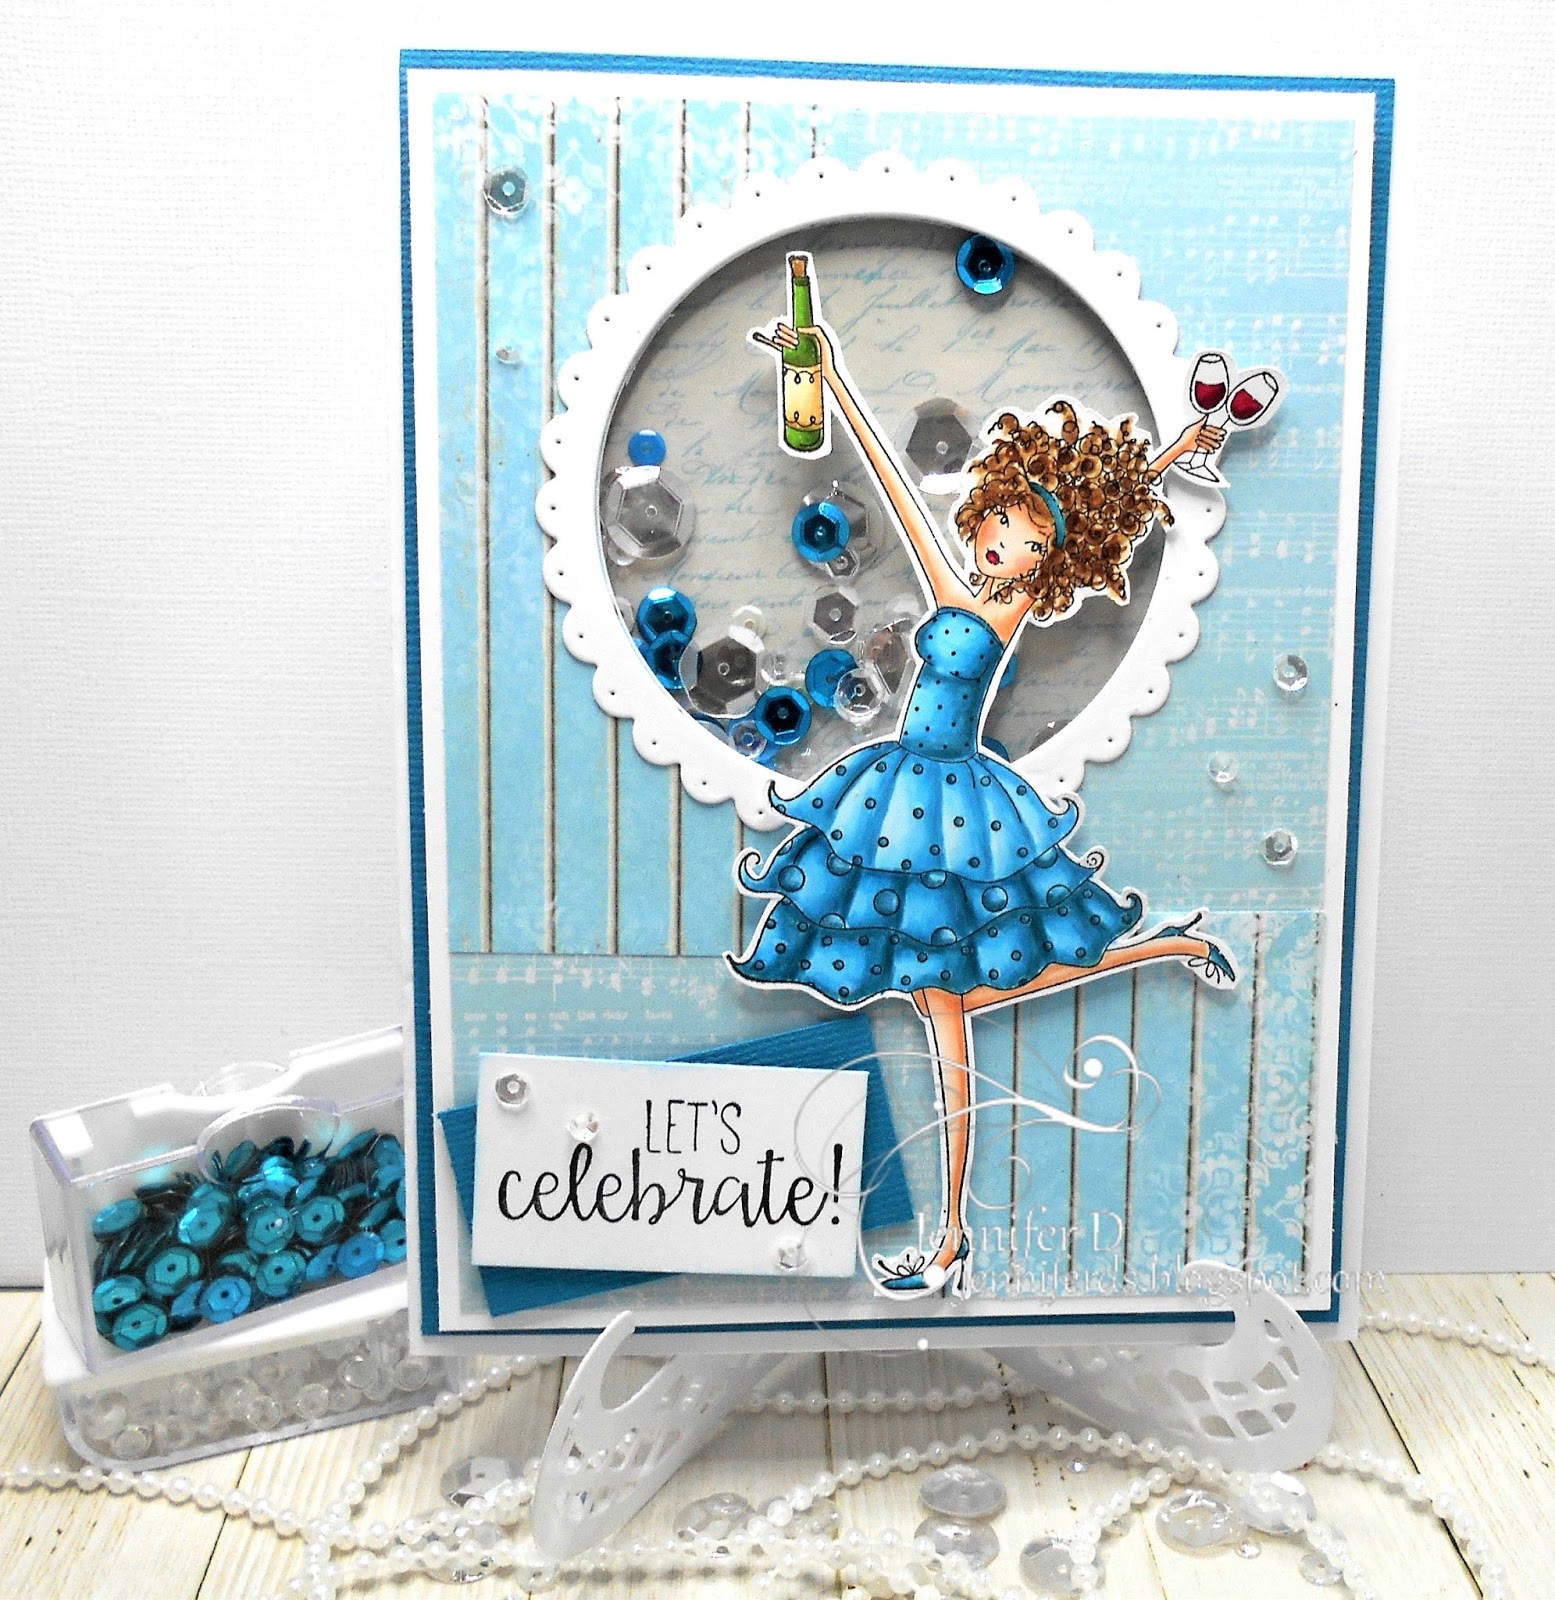
Stamping Bella - Winobella on a Sketch


Hi I am back with my post for
 and last weeks theme is a sketch
and I have used the very gorgeous and fun
don't forget you can get her in a
 "CUT IT OUT" die to save all that fussy cutting.
This order I am going to take my own advice đŸ˜‰
Now don't forget to pop on over to the blog to see all 
my Amazing Bella Sisters Gorgeous Creations.

I have coloured her up in copics
Skin - E0000, E000, E00, E01, E11, R20, RV35
Hair - E25, E27, E30, E32
Dress - BG000, BG01, BG05, BG07, BG09, BG18
Red Wine - RV35, R89
Wine Bottle - E27, E42, YG17, YG67
Papers are from Lemon Craft
Sequins - SSS Moonshine Assorted and
All her spots on her dress have Wink of Stella on them for a 
little more sparkle!


Now you can start getting ready for next weeks challenge my favorite
Christmas in July
Just make sure you use any currant
Image you can add it yourself or e-mail  emily@stampingbella.com
and you can be in the running to win some Bella Dollars.

Have a great Weekend Crafting Everyone!


Thursday, 13 April 2017

Party Party Party Winobella!


Hi I am here with my GDT Card for 
This week for  Wonderful Wednesday I have created a Fun 
Layered Easle Card in bright oranges and purples. Looks like she is 
ready to party!

I have used the Rubber Stamp WINOBELLA she is also avaliable as a
"CUT IT OUT" die and as a WINOBELLA BUNDLE and save 15%.
She is definitely going to be one of my favorite stamps. She is giving
 this card so much life!


So to create the Easle you can use any large die I used a Lifestyle die.
I then folded my basil in half and cutting as in the picture with the 
folded edge where the die isn't going to cut it off.


I then folded one side in half.


For the front I cut the purple one the same size as the base easel. The other two so 
they layer on one another.

 Cut another one each of these the same size as the other two.


The front layered.


The base easel layered.


The front taped to the easel base now to decorate.


I have used Magnolia dies to make the pockets and flourishes. I then decorated 
with lace and a paper doily.


Another layer of purple lace. 


 I layered all these up for the easel part of the card.


I used a Spellbinders fancy circle layered with a white circle stamped with
a sentiment from LOTV. I also added some Fran-tage on the sentiment 
and  to a metal corner I added.


 The flowers and flourishes I glued on to finish it off.


Isn't WINOBELLA just Awesome for this out there party card.

I have coloured her in copics
Face - E0000, E000, E00, E01, E11, R20
Hair - E30, E31, E33, E37
Wine - R46, R69
Bottle - G24, G94, YG95
Dress - YR04, YR07, YR09, YR15, YR16, 
V05, V06, V09, V17

This Sentiment is from Whimsy Stamps.


This is also avery special card for a very special crafter who
should have a blog. Happy Birthday Julie.

Hope you enjoyed this little tutorial
have a great crafting week

Jennifer
Related Posts Plugin for WordPress, Blogger...