Followers

Monday, 6 February 2017

Valentines/Love - LLLC's


Hi Everyone hope you all had a Great Weekend. 
Well Valentines Day is nearly here so our theme in
is
I have decided on a Box Card with the Garden of Love.
Pattern for the Box Card is Here!
I used lots of adorable hearts and these flowers are just 
so beautiful to layer in colours. Marci was just perfect 
with her picked rose !
Stamp 
Dies 

Copics 
Face - E0000, E000, E00, E01, E11, R21
Hair - E21, E25, E27, E29
Dress , Rose, Hat - RV00, R81, R83, R85, R69
Hat band , Dress Layer Shoes - Y00, Y11, Y21

 Also don't forget to join in all the La-La Land Crafts fun by adding
your creations to our Facebook page . Also for more Inspiration we are on Twitter , Pinterest and Instagram too.

Happy Crafting Everyone

Jennifer

Sunday, 5 February 2017

YNS Feb Release - Blog Hop


Wow how exciting is this  the New Release for Feburary is out . I am loooving
all these new Stamps, Dies and  the Clear and Sparkle Gumdrops.
 So did you have a look at all the Sneek Peeks earlier what's your favorite?
Think Spec-Tacular Pheobe and Friends might be my favorite Mmmmm or 
maybe it's  Rev Up The Fun might just have to get them all 😊
Scroll down for the discount code to get 20% of your entire purchase
from the 4th at 10pm Feb 2017 to the 9th of Feb 2017 Midnight.
Now don't forget to leave a comment on all the Posts along the
 way so you are in the running to  win a $25 Gift Certificate.
The more comments the more chances.

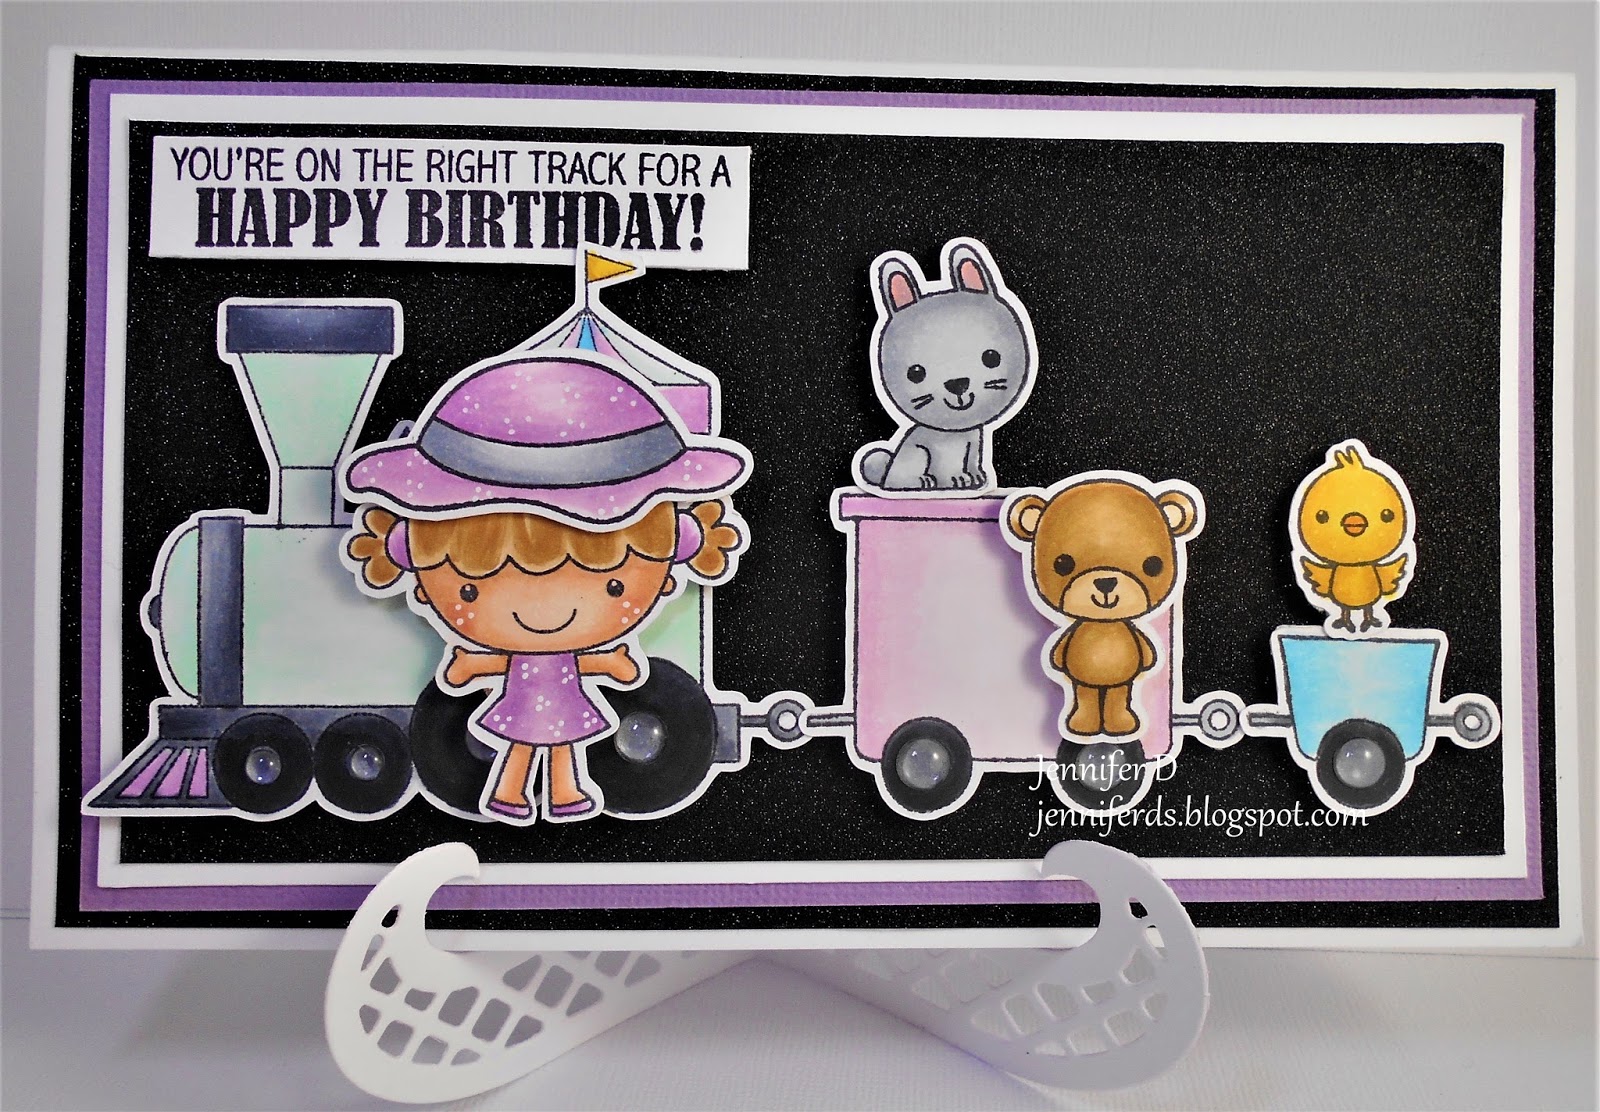
Ok on to my card I have done the scene on 
black glitter paper which highlights all the soft colours I used.
I used 3 sets for it
Spec-Tacular Phoebe and Friends
All Aboard
All A Board - Train Carts
Copics 
Bear - E30, E31, E33
Bunny - C0, C01, C03, R21
Bird - Y15, Y18, YR04
Phoebe - E0000, E000, E00, R21, E30, E31, E33
V01, V12, V15
C0, C01, C03, C05
Train - Wheels, Coupler- C5, C7, N9
Engine- G000, G000, G00, V01,V12, V15,
 B000, B00, B01, Y15, YR23
Second Carraige - V01, V12, V15
Third Carriage - B00, B01
I popped little white clusters of three white spots on Phoebe's
dress and hat. On the centre of the wheels I have  put the
Gumdrops to give them more depth. Everything is
 popped up with Dimentions.

,


Happy Hoping and shopping 😊


Saturday, 4 February 2017

YNS Feburary Release


Wow are you excited I am as not far away is the 
 Feburary  New Releases for your 
but they won't be in the store until 10pm EST
but for some sneek peeks of these Awesome sets go to
for all the links to the Girls blogs so you get get some great sneek peeks.
Then drop back here or there and do the Blog Hop where you can have
 some fun see some more New Releases and there's a $25 Prize for
 hopping around the more you visit the more chances. 

I have used this very cute stamp set called S'more Fun 
and the die is one already avaliable  Pee A Boo Window Set
aren't these animals just adorable. I have distress Inked the background using 
Barn Door and Spiced Marmalade.
Copics used
Bunny - C0, C01, C03, R21
Fox - E08, E09
Logs, Rocks - E40, E41, E43, E44, E33
Flames - R29, YR09

and see the great discount below better get writing up your
 wish lists right now.


Don't forget to pop back in a few hours.

Friday, 3 February 2017

Your Next Stamp - Colour and Sketch Challenge


Hi I am here again this week for 
with this fortnights challenge.
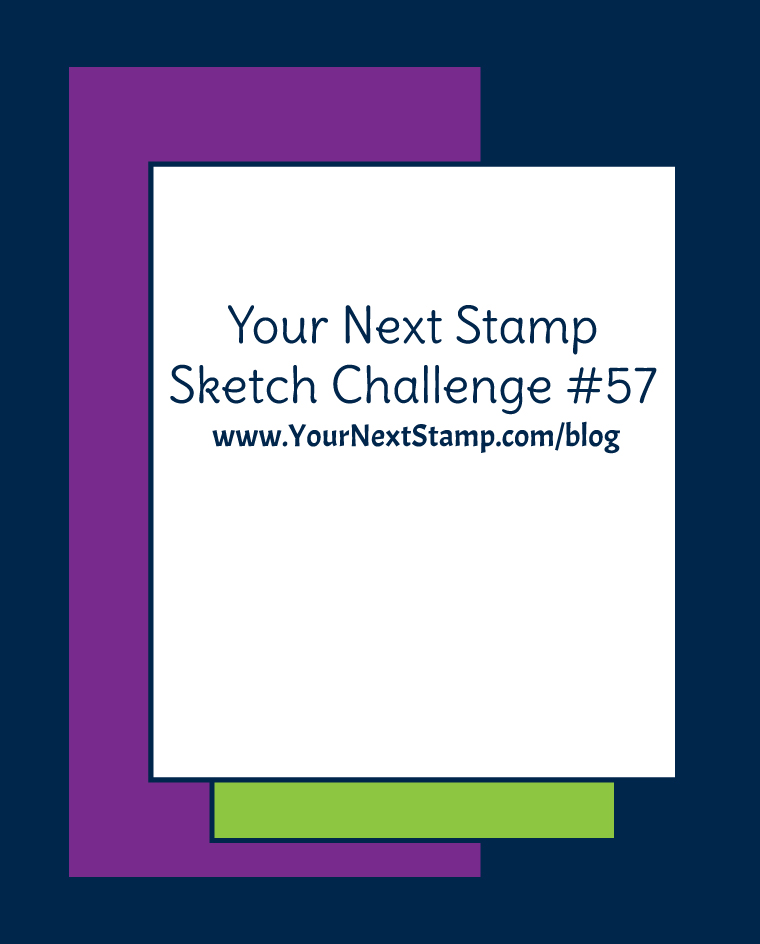
there is a sketch or a colour one
I chose the sketch. I have used this Gorgeous 
Stamp Set
and turned her into a shaker card just couldn't help my self.
So pop on over to the 
and pop in an entry and give it a go.

 
Copics
Face - E0000, E000, E00, E01, E11, R21
Hair - E30, E31, E33
Pants, Donuts- E41, E43, E44,
Bowl, Shirt and Sneakers - BG11, BG13, C0, C01
Icing and Apron - RV00, R81, R83, R59


Enjoy your Day!

Thursday, 2 February 2017

Your Next Stamp Set - Guest Designer


 Here I am with my second post for the day so if your after the Make It Crafty  scroll
down a post or the Tilda Face Tutorial scroll down 2 posts. I have been busy this week😉
Well here I am and very Excited to be a guest designer for the Month of Feburary for
Now they have some really Awesome and cute stamp sets to create with so totally worth
a visit. I find it hard to get Male Stamp Sets and have had some really good ones
from here. So today I created one for a boy. using
and the die down the side I used is
Thought it looked perfect on this card!


I have distress inked the background using Wild Honey and Mustered Seed.
Copics used are
Y15, Y17, Y18, YR23
C03, C05, C07, N9
Th


Enjoy the rest of your day.

Today Celebrate


Hi Everyone I am here with my Guest Card for
and I have used one of the new
isn't she just the Sweetest. I don't use  Valentines Cards as we got
married just after but thought she would be just Gorgeous for a Birthday Card!


Yes you just knew I couldn't help myself and added a 
I used a small one and went perfectly over the 
Today  Die from LLLC's. I die cut the word but didn't want it to 
jump right out at me so I glued it right back where it came out of.
I then glued the celebrate over the top worked well I though.
I used Black on the bottom chippee and the top has 2 G05 and G17.
I also Covered the Celebrate and the balloons in glossy Accents so
 they are all shiny.

Copics
Face - E0000, E000, E00, E01, E11
Hair - E21, E25, E27, E29
Dress, Balloon - C0, C01, C02
Apron, Balloon - G05, G16, G17, G19
Shoes - C0, C01, C02, G05, G17


Hope you liked my interpretation of the Valentines Day Girl.


Wednesday, 1 February 2017

The Rubber Buggy - Tilda Face Tutorial


Hi Everyone I am here with my Post for the
 here with a quick tutorial on how I colour my
Tilda's faces with lots of photo's as I have had a lot of requests.


First I stamp my Tilda today I used Daffodil Tilda 
I stamped her up with my Misti  using Memento Tuxedo Black Ink.
I have coloured her in Copics. So first I have roughly coloured her face 
in E0000.


Then I have started the highlights using E01 around her face.


Then straight over the top I used E11 as it makes the blending
of the dark colour easier and no lines left.


Then I blend out from the E11 using the E01.
See no lines.


Then I blend further into the centre of her face with the E00.
I also put a flick from one eye 3/4 of the way to the other eye.


I then come in even further with my E00 .


Then over the centre with the E0000.


I then repeat the process from the start as it gives her face lots 
of depth. So here I have gone around her face in the E11 I didn't
have to use the E01 again there as I already had ink laid
 down so it would blend easily.


Next I used the E01. you can see her face getting darker.


Then the E00 bringing it closer again to the centre. 


 Then I used E0000 over the whole lot.


Now to do the cheeks I usually use R20 but mine just decided to run
out and I had to use R21. Now to do them I do 3 small circles
 around the dots on the cheeks as in the first cheek. I keep doing that 
until they connect like on the second pic.

I then go over the cheeks with E000 and then the 
whole bottom half of her face with E0000 to smooth all the lines

I always add the 3 white dots to her cheeks.


There you go all done dont forget she will fade a
bit as she dries.

A dried face.

Ooooh just spied New Releases of Magnolia's.
Click the link.

All these products and more are avaliable at the
The Rubber Buggy Shop and don't forget to visit us on Facebook  look for the Videos
down the side too, Instragram and the Rubber Buggy Design Team Blog
 where there's a post nearly everyday from one of the team.

Happy Crafting
Jennifer
Related Posts Plugin for WordPress, Blogger...