Hello everyone! Welcome to Tutorial Thursday!
Jennifer here with you today to share a tutorial with you!
Today's tutorial is: A Framless Shaker Card
How Cool is this Framless Shaker Card. Think of all the Amazing
Cards you could create with this base.
PRODUCTS USED
Mouse - E41, E42, E43, E44, RV00, R20
Paint Brush, R81, R83, R85, C0, C01, Y17, Y19, YR12
PAPER CUTS & SCORING
White Card Stock:
Base 7 3/4 x 5 1/2 inches
Yellow Card Stock:
Bold Letters 3 x Y, 3 x O, 3 x U
Black Card Stock:
4 15/16 x 3 3/8 inches
1 x Y, 1 x O, 1 x U
A Small piece with the Sentiment Embossed on in white
Pink Card Stock:
Largest Scalloped Rectangle
Clear Cello Bag
A Frameless Shaker Card
I cut the Base, Pink Scalloped Layer, Black Rectangle and Patterned Paper piece.
On the Base I layered the Pink Scalloped piece and Black Rectangle using 3D tape for
each layer.
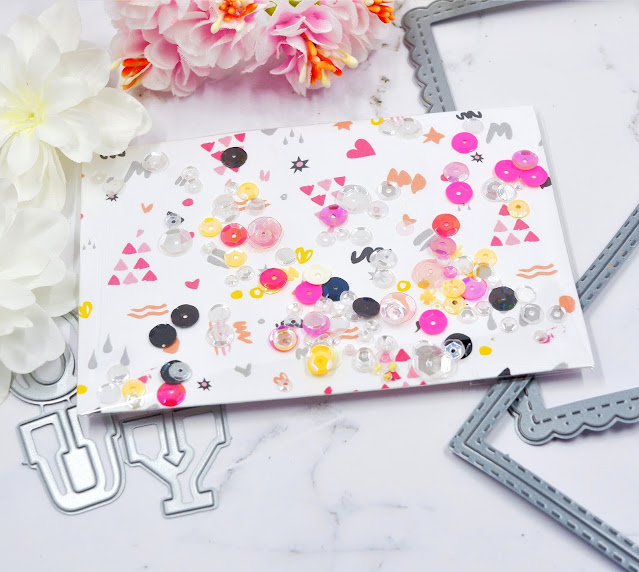
I then used the Cello Bag and taped it firm to 3 sides of the patterned paper.
(The Front)
The Back you can see where I taped it.
I then popped sequins in the front and taped the top down.
I Die Cut the Letters and layered them with the Black on the bottom. I then Stamped
and Coloured the Mouse. The Sentiment I White Embossed and Trimmed it to size.
I then 3D taped them to the Shaker that I taped to the layers on the base.
 |
Voila A Finished Frameless Shaker Card.
We hope that you are inspired to try out your own creation with the amazing stamps and dies from La-La Land Crafts!
Make sure to join our LLLC FAN GROUP on Facebook for more ideas,
inspiration and a general chit chat about our products!
Hoping you all have a great week of Creating
JENNIFER DIX
Click on the buttons below to find us on these social media sites:


great card!
ReplyDelete